Orange Gose – Recipe & Review

Orange Gose

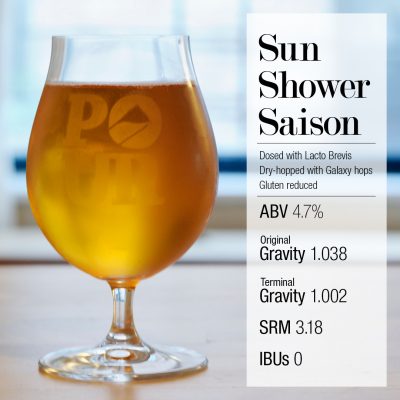
Orange Gose – Hazy gold topped with a pillowy white head

Several years ago the Homebrew Wife and I had a memorable beer from Danish brewer To Øl called “To Øl Gose to Hollywood”. The beer was very refreshing with a bright citrus character. The natural harmony between salt and citrus that is frequently exploited in the culinary world also makes for a fantastic flavor combination in beer.

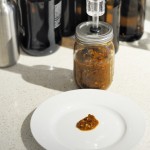
Fast forward many months, and still inspired by the concept of citrus, salt, and lactic acid, I took a shot at producing a similar beer. I’ve brewed a number of beers in the past that featured orange peel on the hot side, but have always been somewhat underwhelmed by the amount of citrus character that carries over into the finished beer. For this iteration, I decided to try and boost the orange character with the addition of orange juice concentrate. The juice concentrate was added at the end of whirlpool to sanitize it and retain as many volatile aromatics as possible.

Orange Gose Recipe

Specifications:
Size: 3.25 gal
Efficiency: 72%
Attenuation: 70%

Original Gravity: 1.040 (includes increased gravity from juice addition)
Terminal Gravity: 1.012
Color: 3.15 SRM (does not account for juice addition)
Alcohol: 3.66% ABV
Bitterness: 0 IBU

Malt Bill:
3.0 lbs (60%) – Weyermann Pilsner Malt
2.0 lbs (40%) – Weyermann Pale Wheat Malt

Mash Profile:
146°F – 40m
162°F – 20m
170°F – 5m

Water Treatment:
Extremely Soft NYC Water
3 g. – Gypsum (to mash)

Hopping:
None

Kettle Additions:
0.5 ea. – Whirlfloc Tablets (Irish moss) – 15m
0.5 tsp. – Wyeast Nutrient – 10m

Whirlpool Additions:
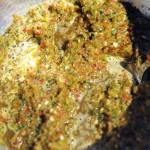
18 g. – Kosher Salt – 20m
10 g. – Indian Coriander – 20m
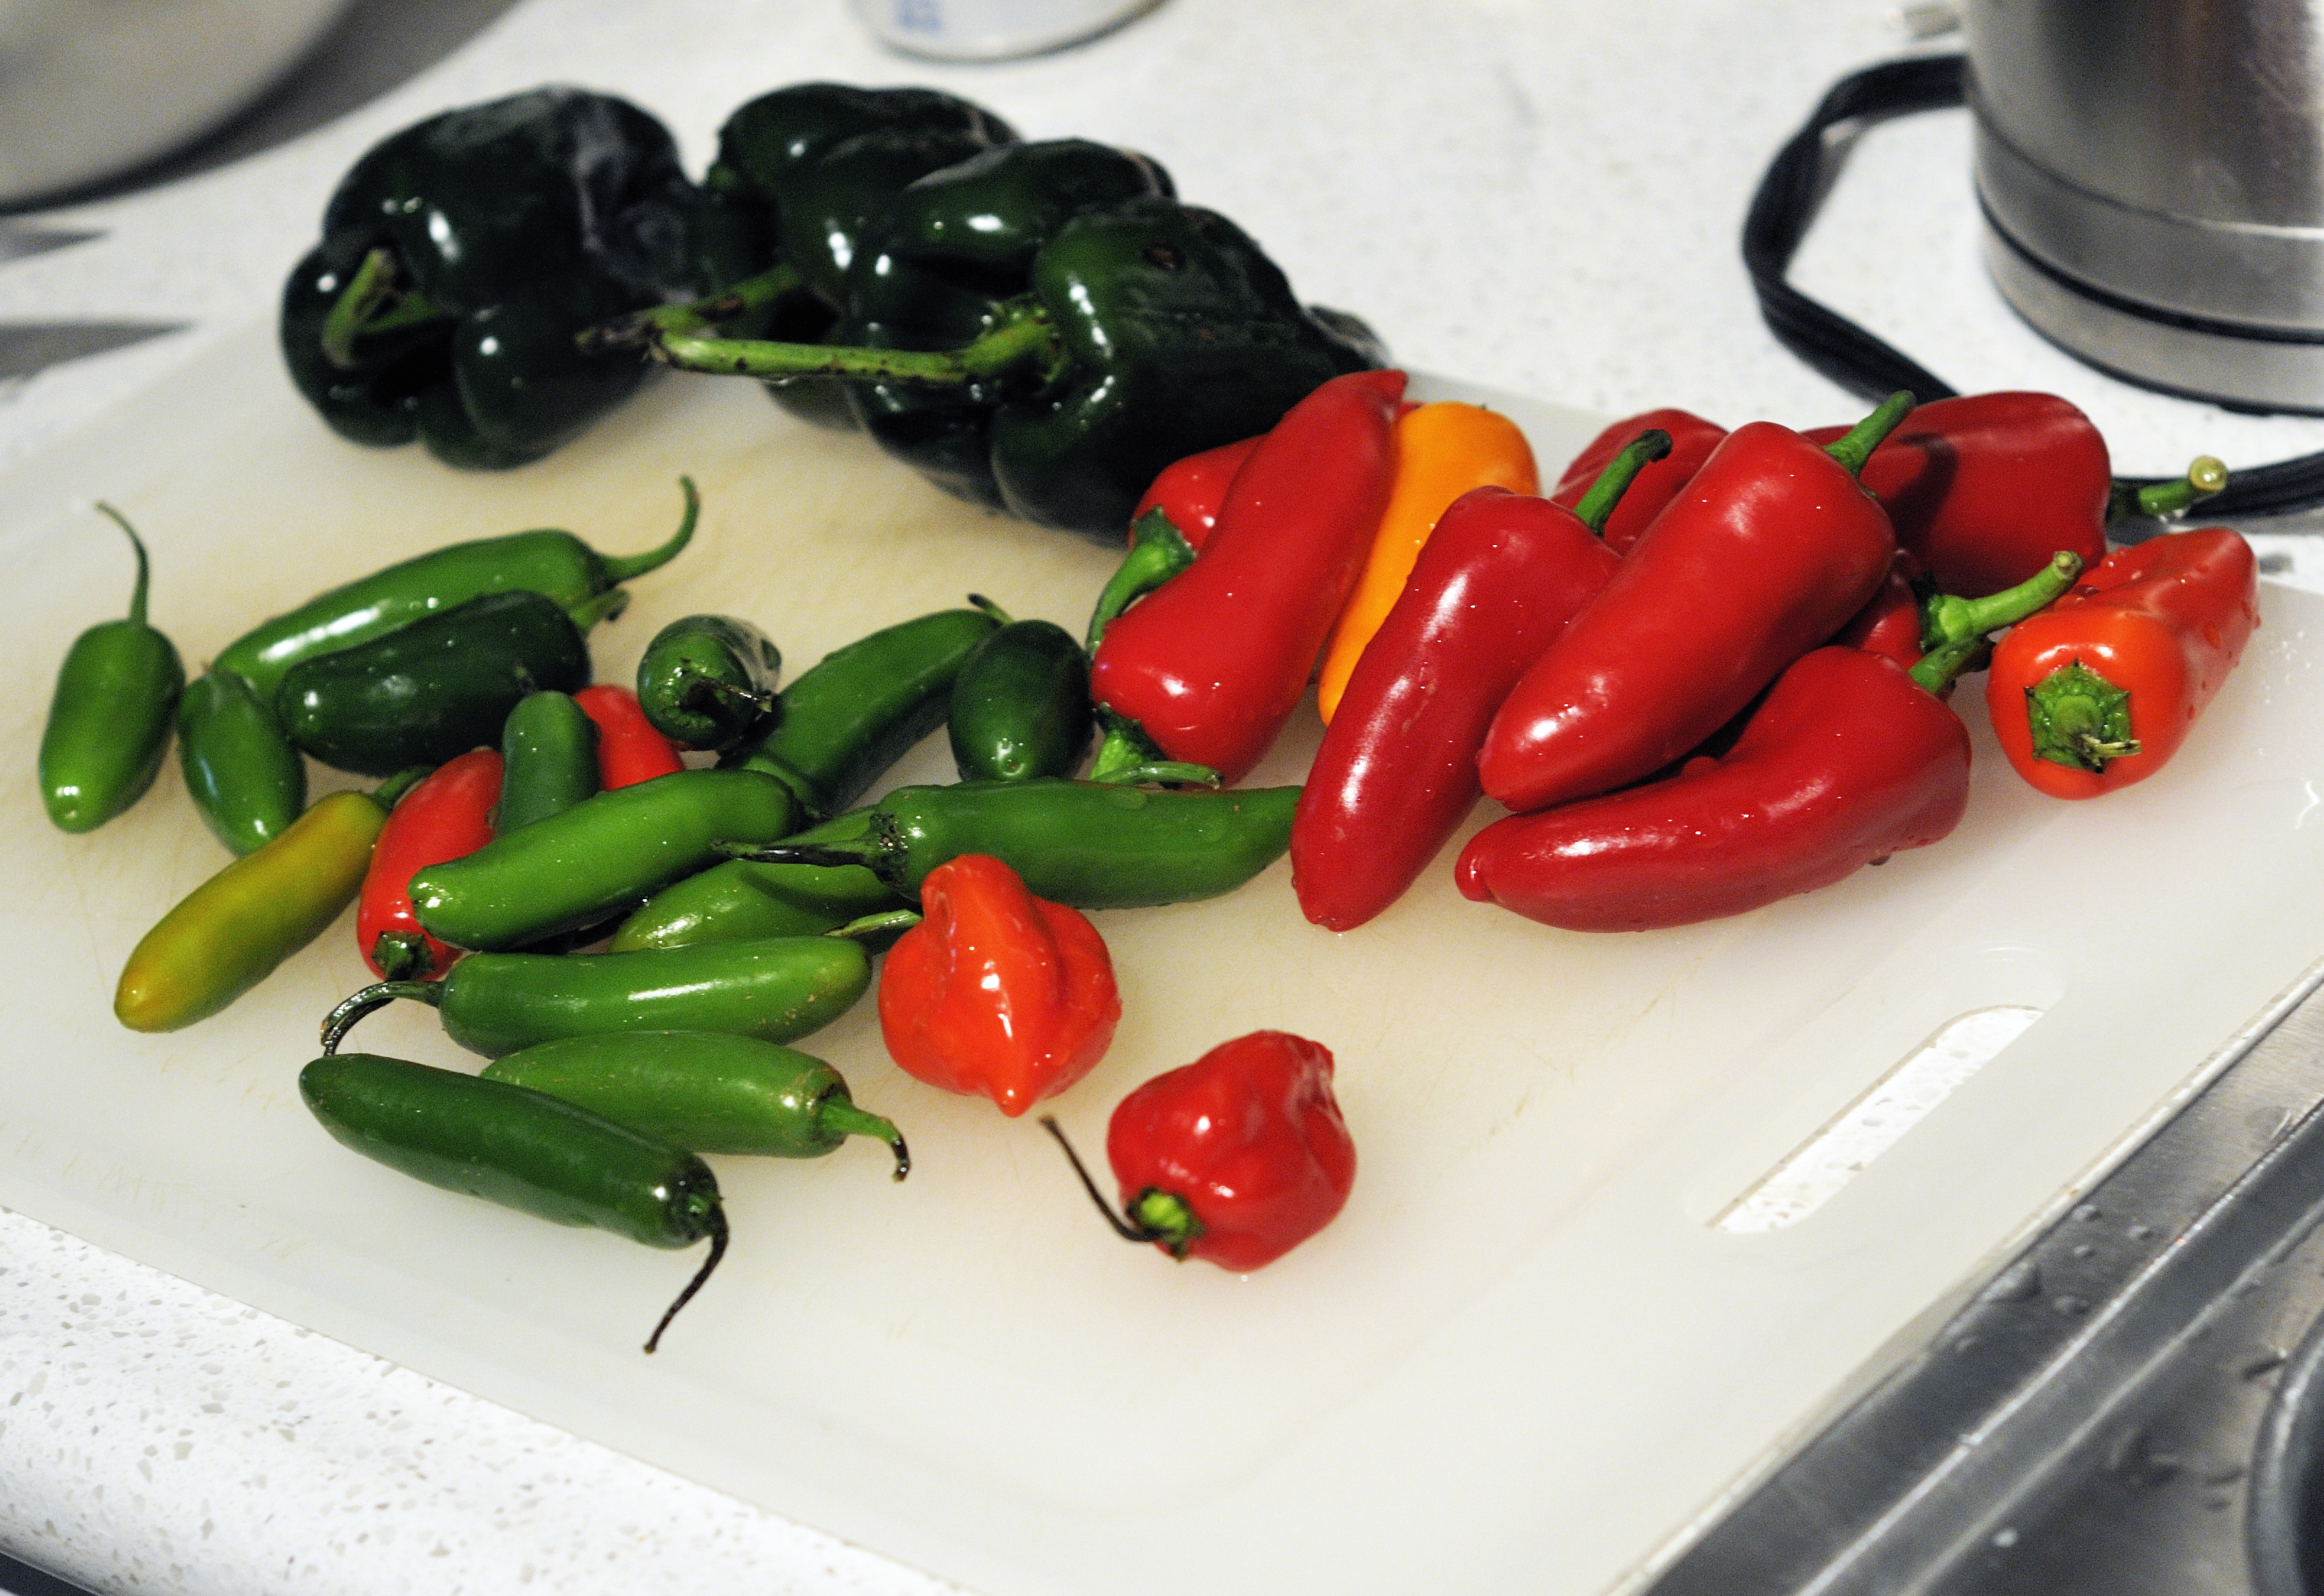
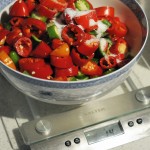
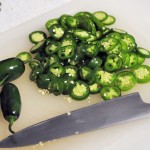
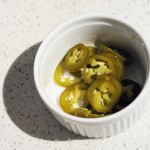
80 g. – Fresh Orange Peel – 20m
12 oz. – Tropicana Frozen Orange Juice Concentrate – (last 5 minutes)
4 ml. – Lactic Acid – 5m

Yeast:
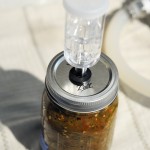
400 ml – House Lacto Culture – added on brewday and left to ferment alone 72 hours
1 Pack – Wyeast 1056 American Ale – added after 72 hours

Tasting Notes:

Judged as a BJCP 28C Wild Specialty Beer

Aroma (5/12):
The beer presents a moderately lactic, yogurty twang on the nose with only hints of soft sweet orange. The malt is lightly bready, but otherwise very benign. In general, the aromatic presentation is quite flat. Would like to see the citrus really popping out of the glass.
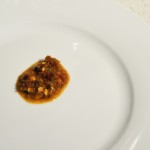
Appearance (3/3):
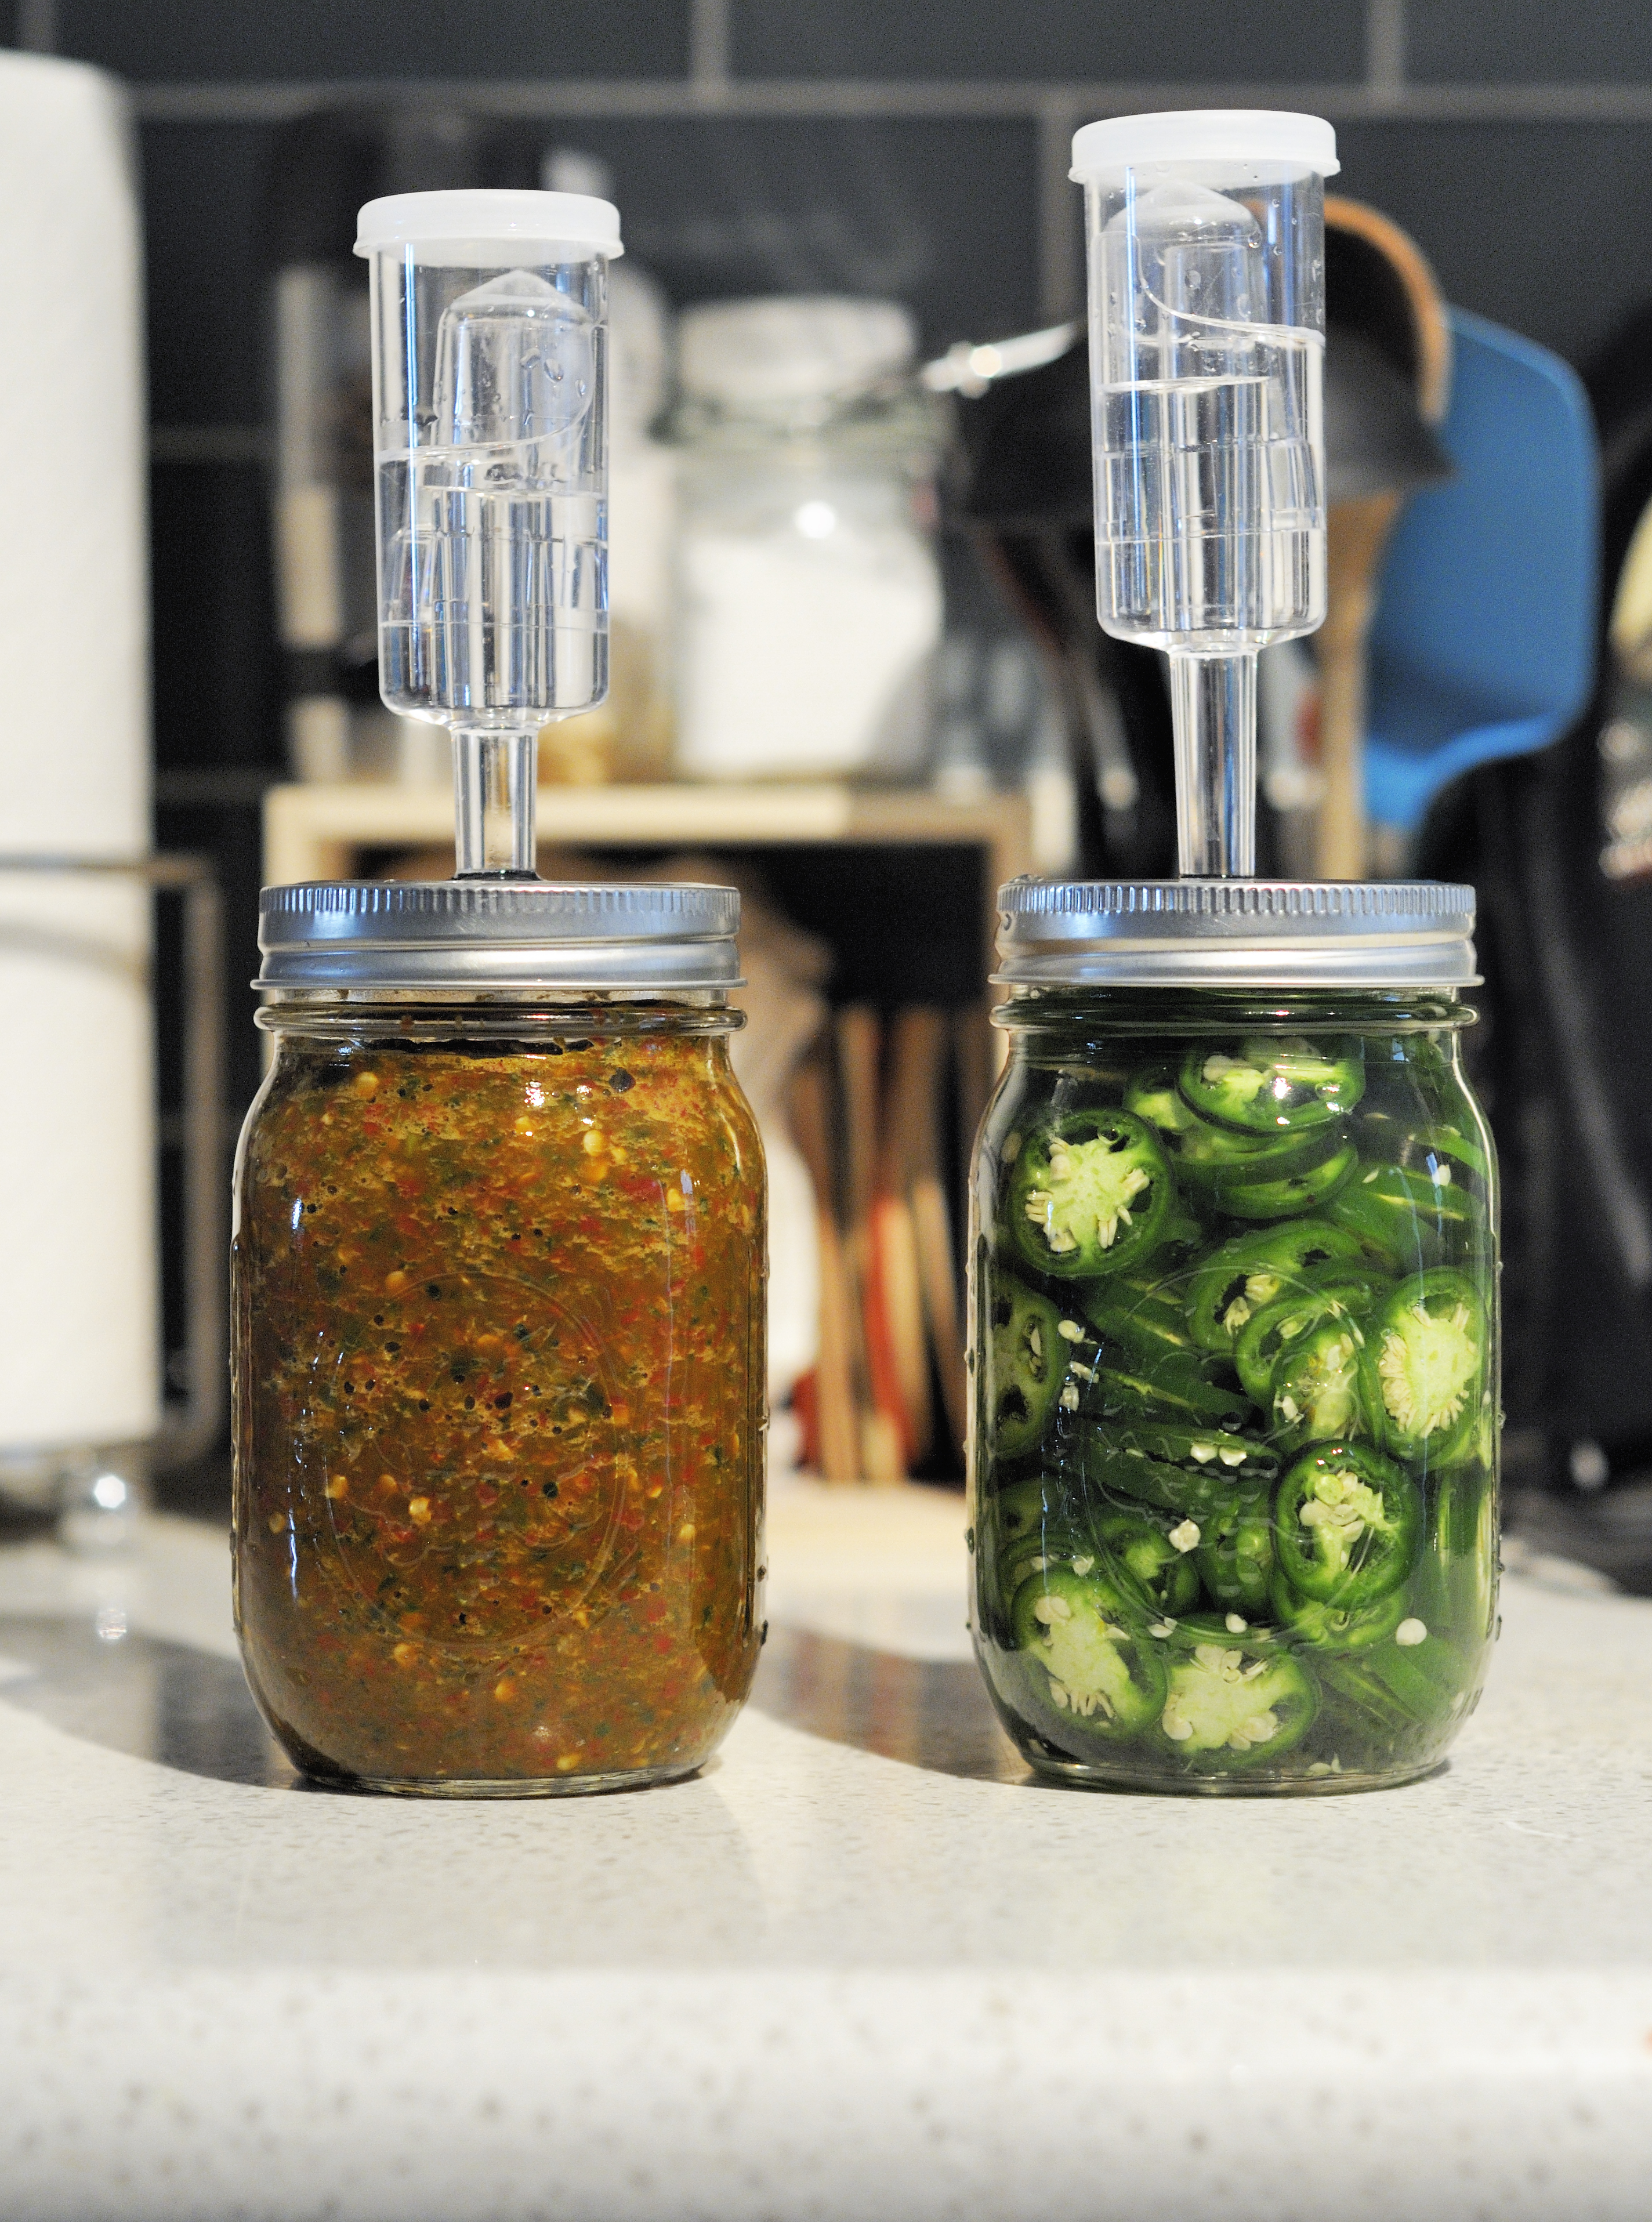
Deep gold with an obvious, although not murky, haze. The beer has a great big white persistent head. Very attractive.

Flavor (8/20):
This beer has a medium-plus orange character that is very juice like. It’s hard to explain, but the beer’s character is less like the ‘essence’ of orange (oil/zest) and more like watered down orange juice (which it kind of is). The orange character is not as bright as I would have hoped, although the high lactic acidity does help to brighten the overall beer. The salt is noticeable—just above the threshold of where I’d be able to pull it out as a salinic note. There is a slight bready character coming from the malt that is perhaps just a touch high.

Mouthfeel (2/5):
The beer is pillowy with a slightly full mouthfeel. The wheat character is very evident, giving a fullness that is perhaps accentuated by the salt. The beer could be a bit crisper, although a medium-plus acidity helps keep the body in check. The carbonation is still a bit low, in spite of priming to 3 volumes of CO2. I get the sense that the beer is struggling to fully carbonate given the acidic environment.

Overall Impression (5/10):
While this is a pleasant beer, it needs some work before it’s on the same plane as the To Øl beer. I’ve had difficulty getting lactic heavy beers to attenuate to the levels that I desire. For the next iteration of this beer, I will employ a step mash with the intent of driving attenuation. Additionally, I’d consider dropping the orange peel on the hot side as I don’t think it is contributing much to the beer. The orange juice addition was an interesting experiment, but I don’t think it will be able to imbue the bright citrus character I hope to bring to this beer. The acidity in the beer is right where I’d like it. The salinity is good as well, although I may pull back 10-15% in an attempt to get it a bit less perceptible.

Good (23/50)

Bonus: See how judges scored this beer at the 2017 Queens Beer Challenge.

Sun Shower Saison Review

Sun Shower Saison

After much planning and some apprehension, The Pour Report homebrew wife finally brewed her very first beer this summer. While the brew day itself went quite well, the final product, christened Sun Shower Saison, wasn’t quite what I had hoped for. Conceived as a refreshing, low-alcohol “tart, crisp, and slightly fruity beer” for the dog days of summer, Sun Shower was able to live up to most of what I’ve just described. The most disappointing characteristic was the flavors contributed by the saison yeast, specifically the peppery spiciness. While I’ve always considered myself a fan of saisons, I’m finding that my palette interprets the peppery spiciness as more of a distraction than a complement to the beer. On the flip side, I have discovered that there is no such thing as “too tart” when it comes to my palette and I wish Sun Shower had a little more tartness to it. As a result, I find myself very much disliking this beer and already have plans to rebrew this recipe with a different yeast. Stay tuned to see how Version 2 turns out…

Tasting Notes:

Jessie’s Review:

Judged against my original intent to brew a “refreshing, low-alcohol tart, crisp, and slightly fruity beer”

Aroma (8/12):
Peppery with a hint of ham (reminiscent of the carved ham station at King’s Table Buffet). When fresh, the Galaxy hops bring a nice melon (mainly cantaloupe) flavor.

Appearance (2/3):
Yellow-to-gold range (if there are any designers reading this, think PMS 7405). Relatively clear, but with very poor head retention.

Flavor (10/20):
Peppery spiciness with melon and a touch of salt. A subtle hint of barnyard funk and tartness.

Mouthfeel (3/5):
Very light body with seltzer-like qualities. Could afford to be more carbonated.

Overall Impression (5/10):

If I had set out to brew non-alcoholic water, I’d be ecstatic! But as it stands, I’m satisfied that my first beer came out without any major flaws.

Good (28/50)


Nick’s Review:

Judged as 2015 BJCP Category 34C Experimental Beer

Beer Description: Ultra low alcohol (3.0%) saison. Minimal malt, light fruity hop character, soft lacto sourness. Dry, crisp, effervescent, quenching.

Aroma (7/12):

A whisper of sulfury egg hits the nose first, but blows off quickly and is followed by a fairly prominent Belgian yeast note featuring some light peppery phenol, a touch of clove, and a subdued generic fruitiness. There is a touch of yogurt-like lacto and some soft hop aromatics reminiscent of mango, citrus, and perhaps a touch of pineapple and honeydew melon. The nose is subtle, but nuanced.

Appearance (1/3):
Pale gold with a light haze. A low white head forms, but quickly dissipates under a crackle of soda pop like fizziness. No retention whatsoever.

Flavor (14/20):
There is a soft bready malt flavor that is quickly underscored by a fairly expressive peppery yeast character. The beer is somewhat tart, although much less so than I would have expected given the pH tested at 3.14 prior to pitching Saccharomyces. The beer is bone dry. The hop flavor is generally fruity and citrusy, which plays nice with the acidity in the beer. There is no hop bitterness. The beer gives an impression of mineral water with an almost seltzer-like finish.

Mouthfeel (2/5):
Extremely low-bodied with spritzy carbonation. There is a slightly astringent tannin present. The beer is very quenching, although perhaps a bit watery.

Overall Impression (7/10):
This is a nice refreshing beer. I think to be on target with the recipe’s design intent it needs a bit more tartness and residual body to make it more sessionable and expressive.

Very Good (31/50)

The Homebrew Wife Brews Her First Batch

Hello! It’s Jessie, the homebrew wife here at The Pour Report, and I have some exciting news to share. I’ve brewed my first batch of beer!

Mashing In

The homebrew wife’s first mash!

Having been tangentially involved over the years, the thought of actually brewing up a batch of my own is a recent occurrence. I have attended various beer-centric events, gone on many a beercation, and chatted endlessly with Nick, but had mostly stayed out of the brewery. When I attended my first full national homebrewers conference in 2015, it was the history seminars that piqued most of my interest. Although I attended some of the more technical seminars, I did find them a bit over my head. So in preparation for Homebrew Con 2016, I decided to read Randy Mosher’s “Mastering Homebrew”. (Thanks for the book, Sarah!) Doing most of my reading while riding the subway to and from work, I found myself thinking over and over how much better the information would stick if I could get some hands-on experience. While I was able to conjure up images of Nick doing what Randy was describing, there’s nothing quite like getting your hands dirty. So it was decided that I was going to have my first brew day.

Going in, I knew that I wanted something light with a very low ABV (I’ve been “blessed” with wonky genes, which makes me a bit of a featherweight). And as I hold tart beers close to my heart, why not make one for my first brew? With my newly gained knowledge from Randy and some consultation from Nick, I put together my recipe (see below) with the hopes of creating a tart, crisp, and slightly fruity beer. You’ll see Clarity Ferm listed in my recipe. In addition to having poor drinking genes, I was also told about a year ago I have a gluten sensitivity. (No, the irony of a homebrew wife who doesn’t do well with either alcohol or gluten is not lost on me.) And since Nick has been wanting to play with Clarity Ferm but has not yet had the chance, we thought it fitting to use it in my beer.

With a date picked and ingredients ordered, a bit of nervousness started to set it. Headed into my first brew day, I had some minor concerns about how it would all play out the day of.
1) My complete and utter lack of culinary prowess: I can make a mean scrambled egg (and once made penne vodka from scratch), but that’s about where my capabilities max out. I’d like to think I have a pretty good feel for certain things, but I know for sure that I have zero instinct when it comes to cooking. As I have often said to Nick, I need “very explicit instructions” when in the kitchen (or in this case, the brewery).
2) Stepping into Nick’s domain: despite being both excited for me and very encouraging, I also know that Nick has very specific ways of doing things and a very high standard for everything that he does (as evidenced by his numerous accolades). The actual working together part of it didn’t really worry me (we’ve collaborated on various projects in the past); it was more about not living up to his very high brewing standards. Plus, I didn’t want to be responsible for breaking any of his equipment.
3) Lack of technical knowledge: while I had no problem conceptualizing the beer I wanted to brew, I wasn’t quite sure how I was actually going to get from recipe to fermented beverage. Luckily, my first brew day was going to be a tandem brew with Nick.

The brew day itself actually went remarkably smoothly (just one of the benefits of brewing with someone who knows what they’re doing!). Slightly flustered by the initial mise en place and set up of the brewery, the bulk of the brew day went pretty much according to plan. I have to admit I was a little surprised at how much down time there was (I’m looking at you, 90-minute boil). But it did feel like the cleaning of equipment was endless and, boy, that hot water sure is HOT (even through those Blichmann rubber gloves). But cleanliness is next to godliness and a must for any decent brewer.

A couple things of note about this beer in particular:
1) Mashing in high: because we started at such a low gravity (1.038), we mashed in at a higher than typical temperature (158°F) to try and keep the attenuation from being too high.
2) Tracking the mash: our initial mash pH was 5.3. Post boil, the wort was further acidified to pH 4.5 to prevent the lacto from enzymatically degrading the foam positive proteins. By Day 2, the lacto had acidified the wort to pH 3.24 and dropped the gravity to 1.019.
3) The fermentation schedule: pre acidification on Day 1 with the French Saison yeast + Clarity Ferm being pitched on Day 3. And to finish off the beer, three days sitting on one ounce of Galaxy hops post-fermentation.

Having survived my first brew day, I am now even more impressed with all of the homebrewers out there pursuing this hobby. Cheers and Happy Homebrewing!

Sun Shower Saison Recipe

Specifications:

Size: 3.25gal
Efficiency: 70%
Attenuation: 76%
Original Gravity: 1.038
Terminal Gravity: 1.009 (estimated)
Color: 3.18 SRM (estimated)

Alcohol: 3.93% ABV (estimated)
Bitterness: 0 IBU

Malt Bill:
4lb (76.2%) Weyermann Pilsner Malt
0.75lb (14.3%) Flaked Wheat
0.5lb (9.5%) Briess Cara-Pils Malt

Mash Profile:

158°F – 60m

Water Treatment:
Extremely Soft NYC Water
Added to mash:
4g Gypsum (Calcium Sulfate)
2g Calcium Chloride

Hopping:
1oz Galaxy – secondary fermentation

Kettle Additions:
0.5tsp Whirlfloc Tablets (Irish moss) – added during boil, boiled 15m
0.5tsp Wyeast Nutrient – added during boil, boiled 10m

Yeast/Bacteria:
Wyeast 3711 French Saison
White Labs WLP672 Lacto Brevis

Additional Ingredients:
Clarity Ferm – added with yeast

Fermented Pepper Rings and Chili Paste

It’s easy to forget the magic that lactic fermentation imbues upon some of our favorite foods. In particular, a wide variety of condiments are transformed through the alchemy of fermentation. Sriracha hot sauce? Fermented. Tabasco? Fermented (for years). Soy sauce, fish sauce, many types of chili paste? All fermented. When you start looking at the various sauces and pickles we love, you soon realize that most have their roots firmly grounded in the world of preservation and fermentation.

Jalepeno slices and chili paste ready to be transformed through fermentation.

Jalapeno slices and chili paste ready to be transformed through fermentation. Modifying mason jars with rubber grommets and airlocks is a cheap and easy way to prevent any undesired growth in your ferment.

Chilies are an excellent candidate to preserve via fermentation. As summer starts to become a memory and fall begins to whisper in our ears, the local NYC farmers markets begin to be filled with a variety of locally grown chilies. I’m a major fan of hot food, so my natural inclination is to capture as many of these fresh chilies as possible and preserve them for use throughout the winter. Chili paste and fermented jalepeno slices are an excellent means to do this.

Fermented Chili Paste

My chili paste consists of a blend of jalepenos, serranos, poblanos, and habaneros. Striking the right blend is key to obtaining your preferred heat level.

My chili paste consists of a blend of jalapenos, serranos, poblanos, and habaneros. Striking the right blend is key to obtaining your preferred heat level.

Fermented chili paste is not only a great condiment, but also a versatile addition to many recipes. It’s great because you can make it with any blend of peppers you wish, resulting in either a fruity/tangy sauce, or one that will burn off your taste buds. I ended up shooting for something in between the two. Using a blend of sweet and hot peppers will strike a nice balance. There really is no right or wrong blend. I like to add an entire head of garlic to the mix for a nice garlicky kick. Really the only rule I stick to is to include 2% by weight kosher salt. For example, if I have 500 grams of raw chopped up peppers, I’ll include 10 grams of kosher salt in the mix. This level of salt is key to encouraging good bacteria growth while inhibiting molds or other undesired microbiological activity.

 Fermented Jalapeno Slices

Another great way to preserve chilies is fermenting slices in a brine solution. The recipe couldn’t be easier. For this batch I sliced enough jalapenos to pack a pint sized mason jar to the brim. I then topped the jar with a brine solution consisting of filtered water and 5-6% by weight kosher salt. The mason jar was fitted with a lid and airlock and allowed to ferment for approximately a week. Again, taste should be your guide. Once the peppers fit your taste, refrigerator to slow further fermentation.

The pepper rings will take on a lovely tart acidic quality as well as some earthy funk. Texturally they retain a nice snap and are a great topping to many dishes.

A Few Words About Safety

  1. Smell and looks should be your guide. I don’t eat anything that grows mold or smells off.
  2. Wear gloves when handling chilies. The oils can and will burn you.
  3. Be careful when sealing ferments. Fermentation can produce CO2 gas. If this builds up in a sealed container, it can result in dangerous levels of pressure, which can cause vessels to burst. Frequently vent any sealed ferments, or ferment with an airlock.