Vinegar is often a hushed subject amongst brewers. A veritable boogeyman, the bacteria (acetobacter) responsible for one of my favorite condiments and cooking ingredients can easily spoil a batch of beer. The thought of our carefully crafted libations (and their inherent ethanol content) being transformed into acetic acid sends shivers up many a brewer’s spine. Acetobacter must be respected, and never invited into our breweries…
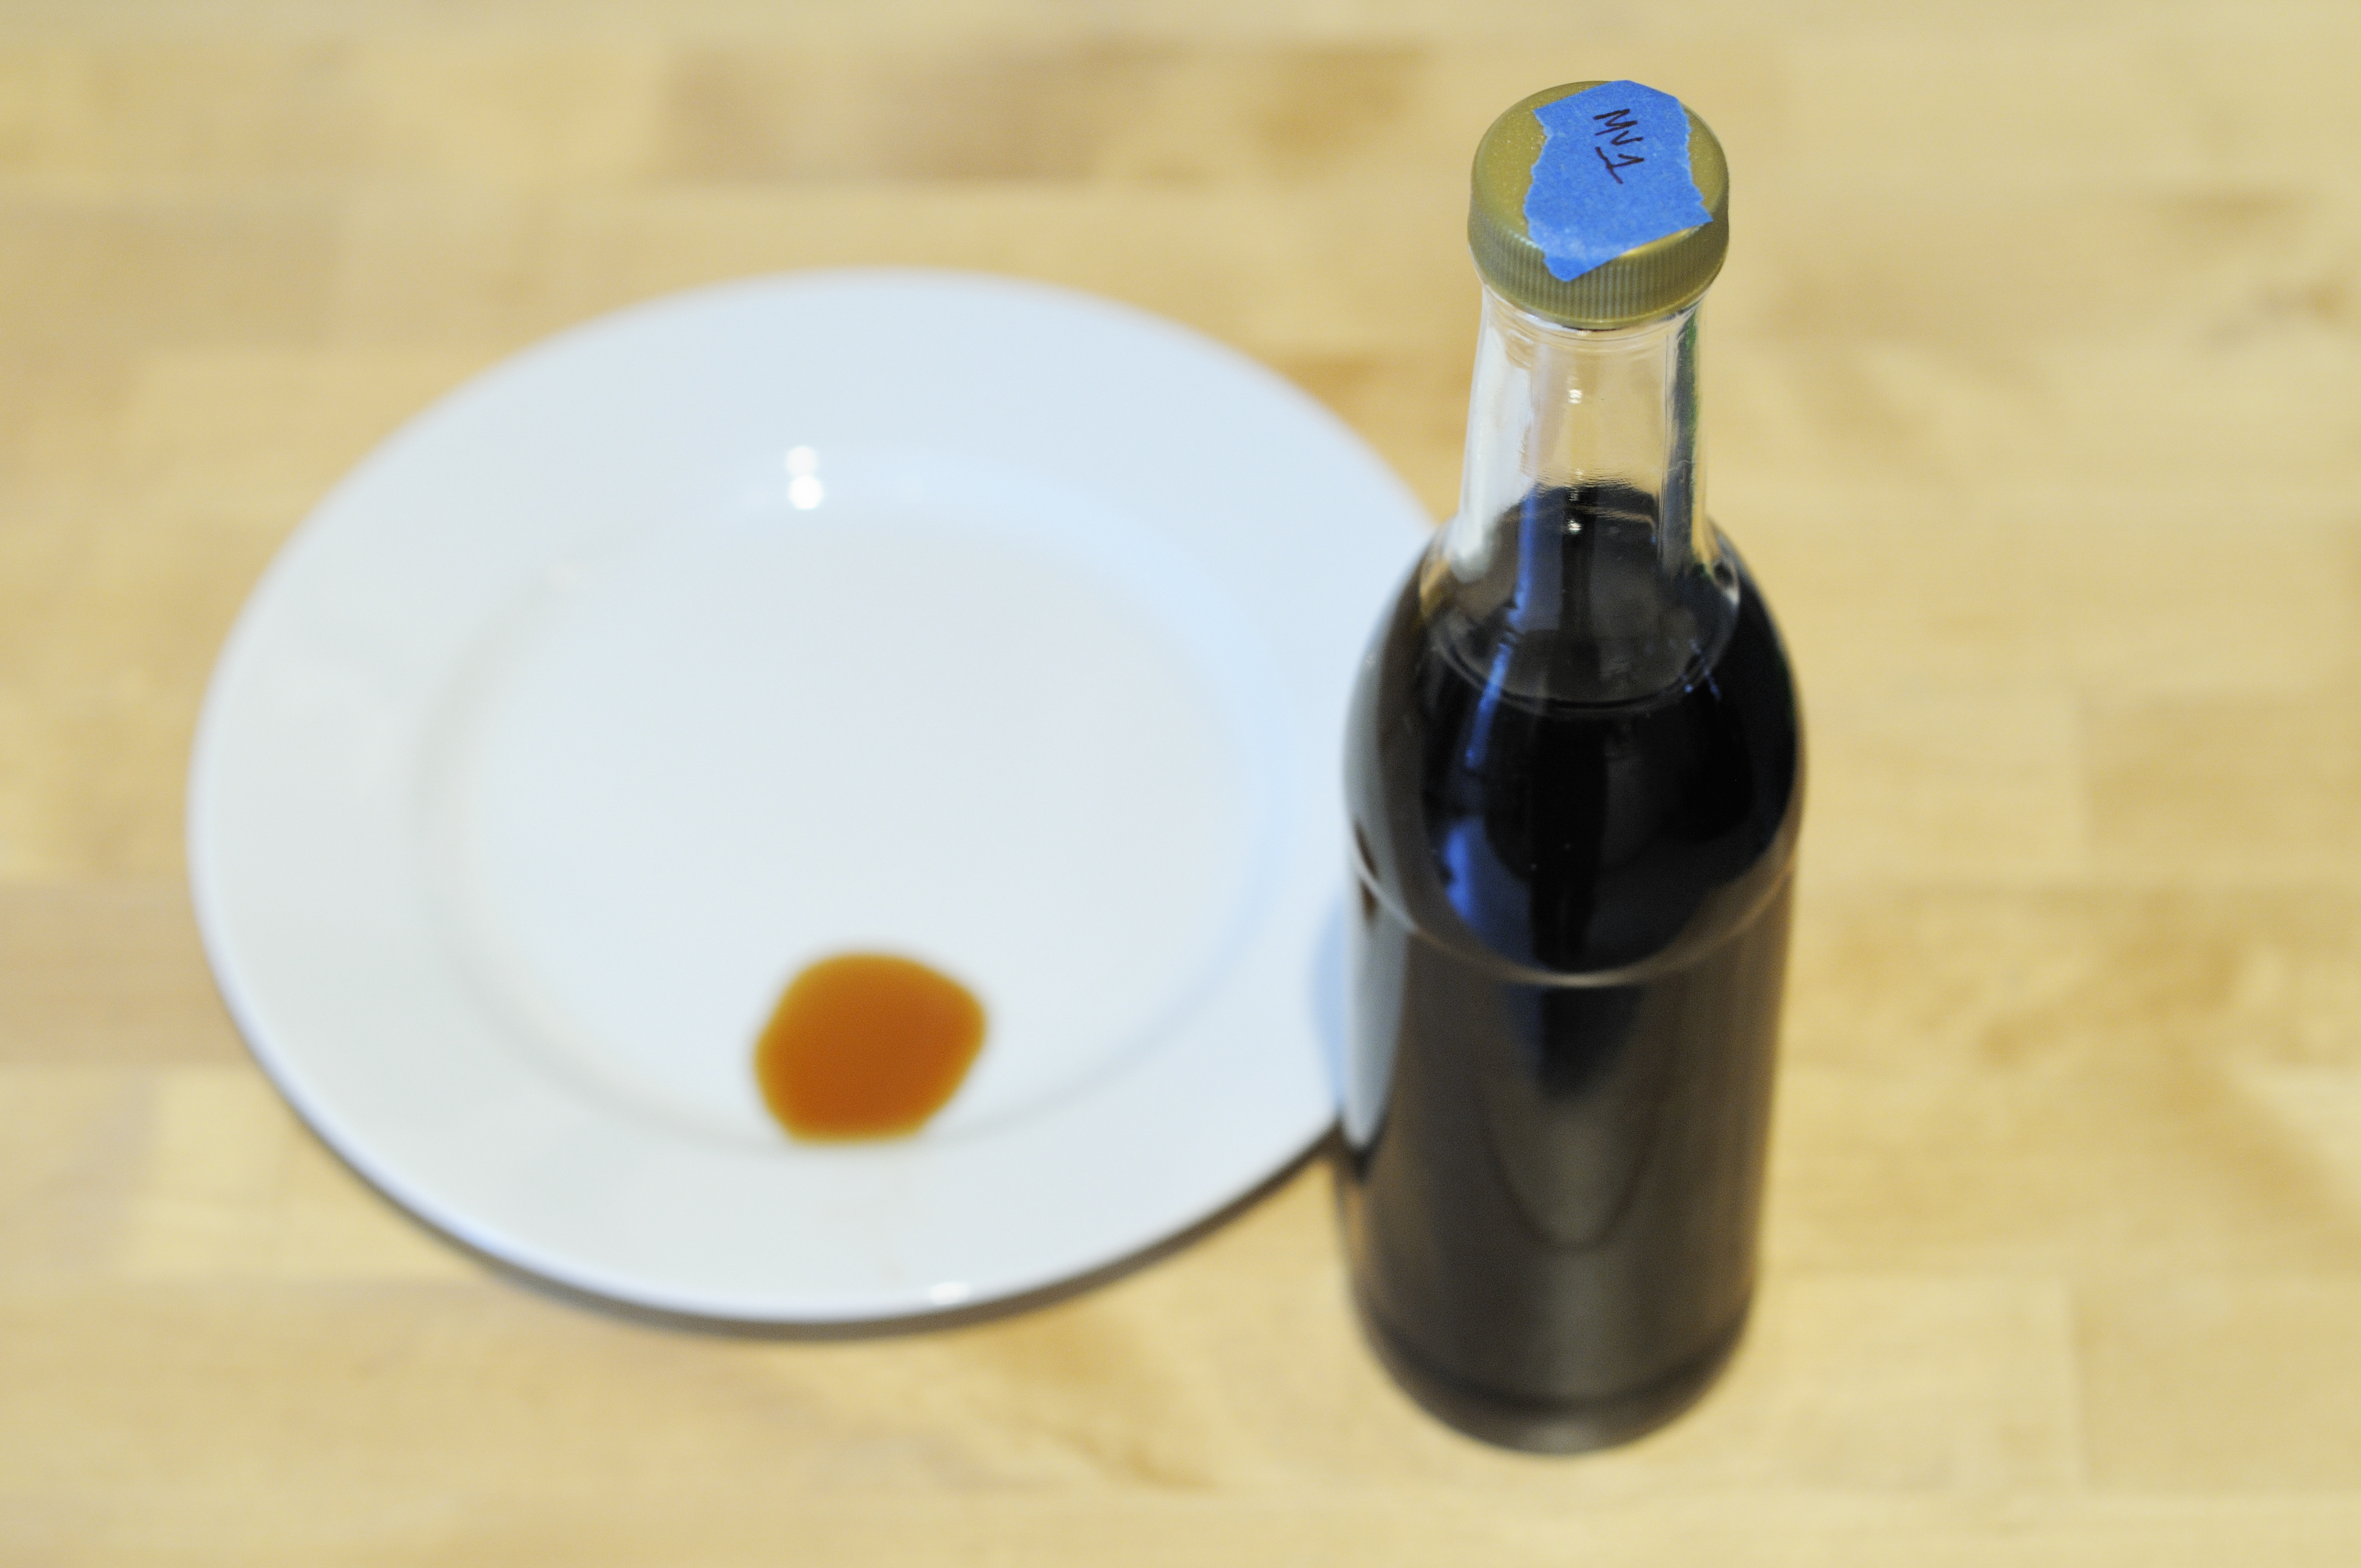
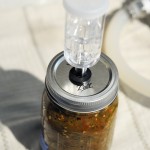
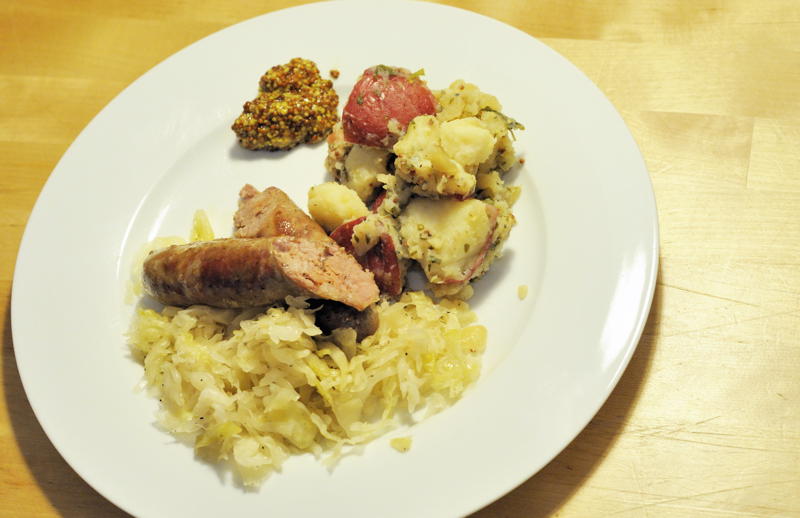
Homebrewing your own malt vinegar is a delicious off-shoot of homebrewing beer.
…or so we have been told. The truth of the matter is that acetobacter exists in every brewery. Its omnipresent existence is evidenced by the fact that nearly any liquid containing ethanol will spontaneously transform into vinegar provided it is left exposed to oxygen. Basic good sanitation practices and keeping your ‘funky’ equipment separate from your ‘clean’ brewing equipment will allow you the creative freedom to ferment outside the bounds of typical brewing.
Once I decided to begin producing my own malt vinegar, I was somewhat surprised to find the Internet nearly devoid of good information as it relates to producing malt vinegar. This is not to say that there isn’t a lot of information out there, but most of it is very basic in terms of real detail. By-and-large, the articles out there focus on the economy of producing vinegar. Their focus is on vinegar production as a means of transforming an unwanted alcoholic beverage into something of value – a happy byproduct for unwanted hooch. What is one to do with a half-consumed bottle of wine, decanted yeast starter wort, or a bad batch of beer? Turn it to vinegar (or so says the Internet). The problem with this approach is that it over-simplifies vinegar production. Will a haphazard approach to vinegar production produce a passable product? Probably so. My interests however are in producing a truly artisanal product with as much complexity and diversity as the alcoholic beverages that serve as their base.
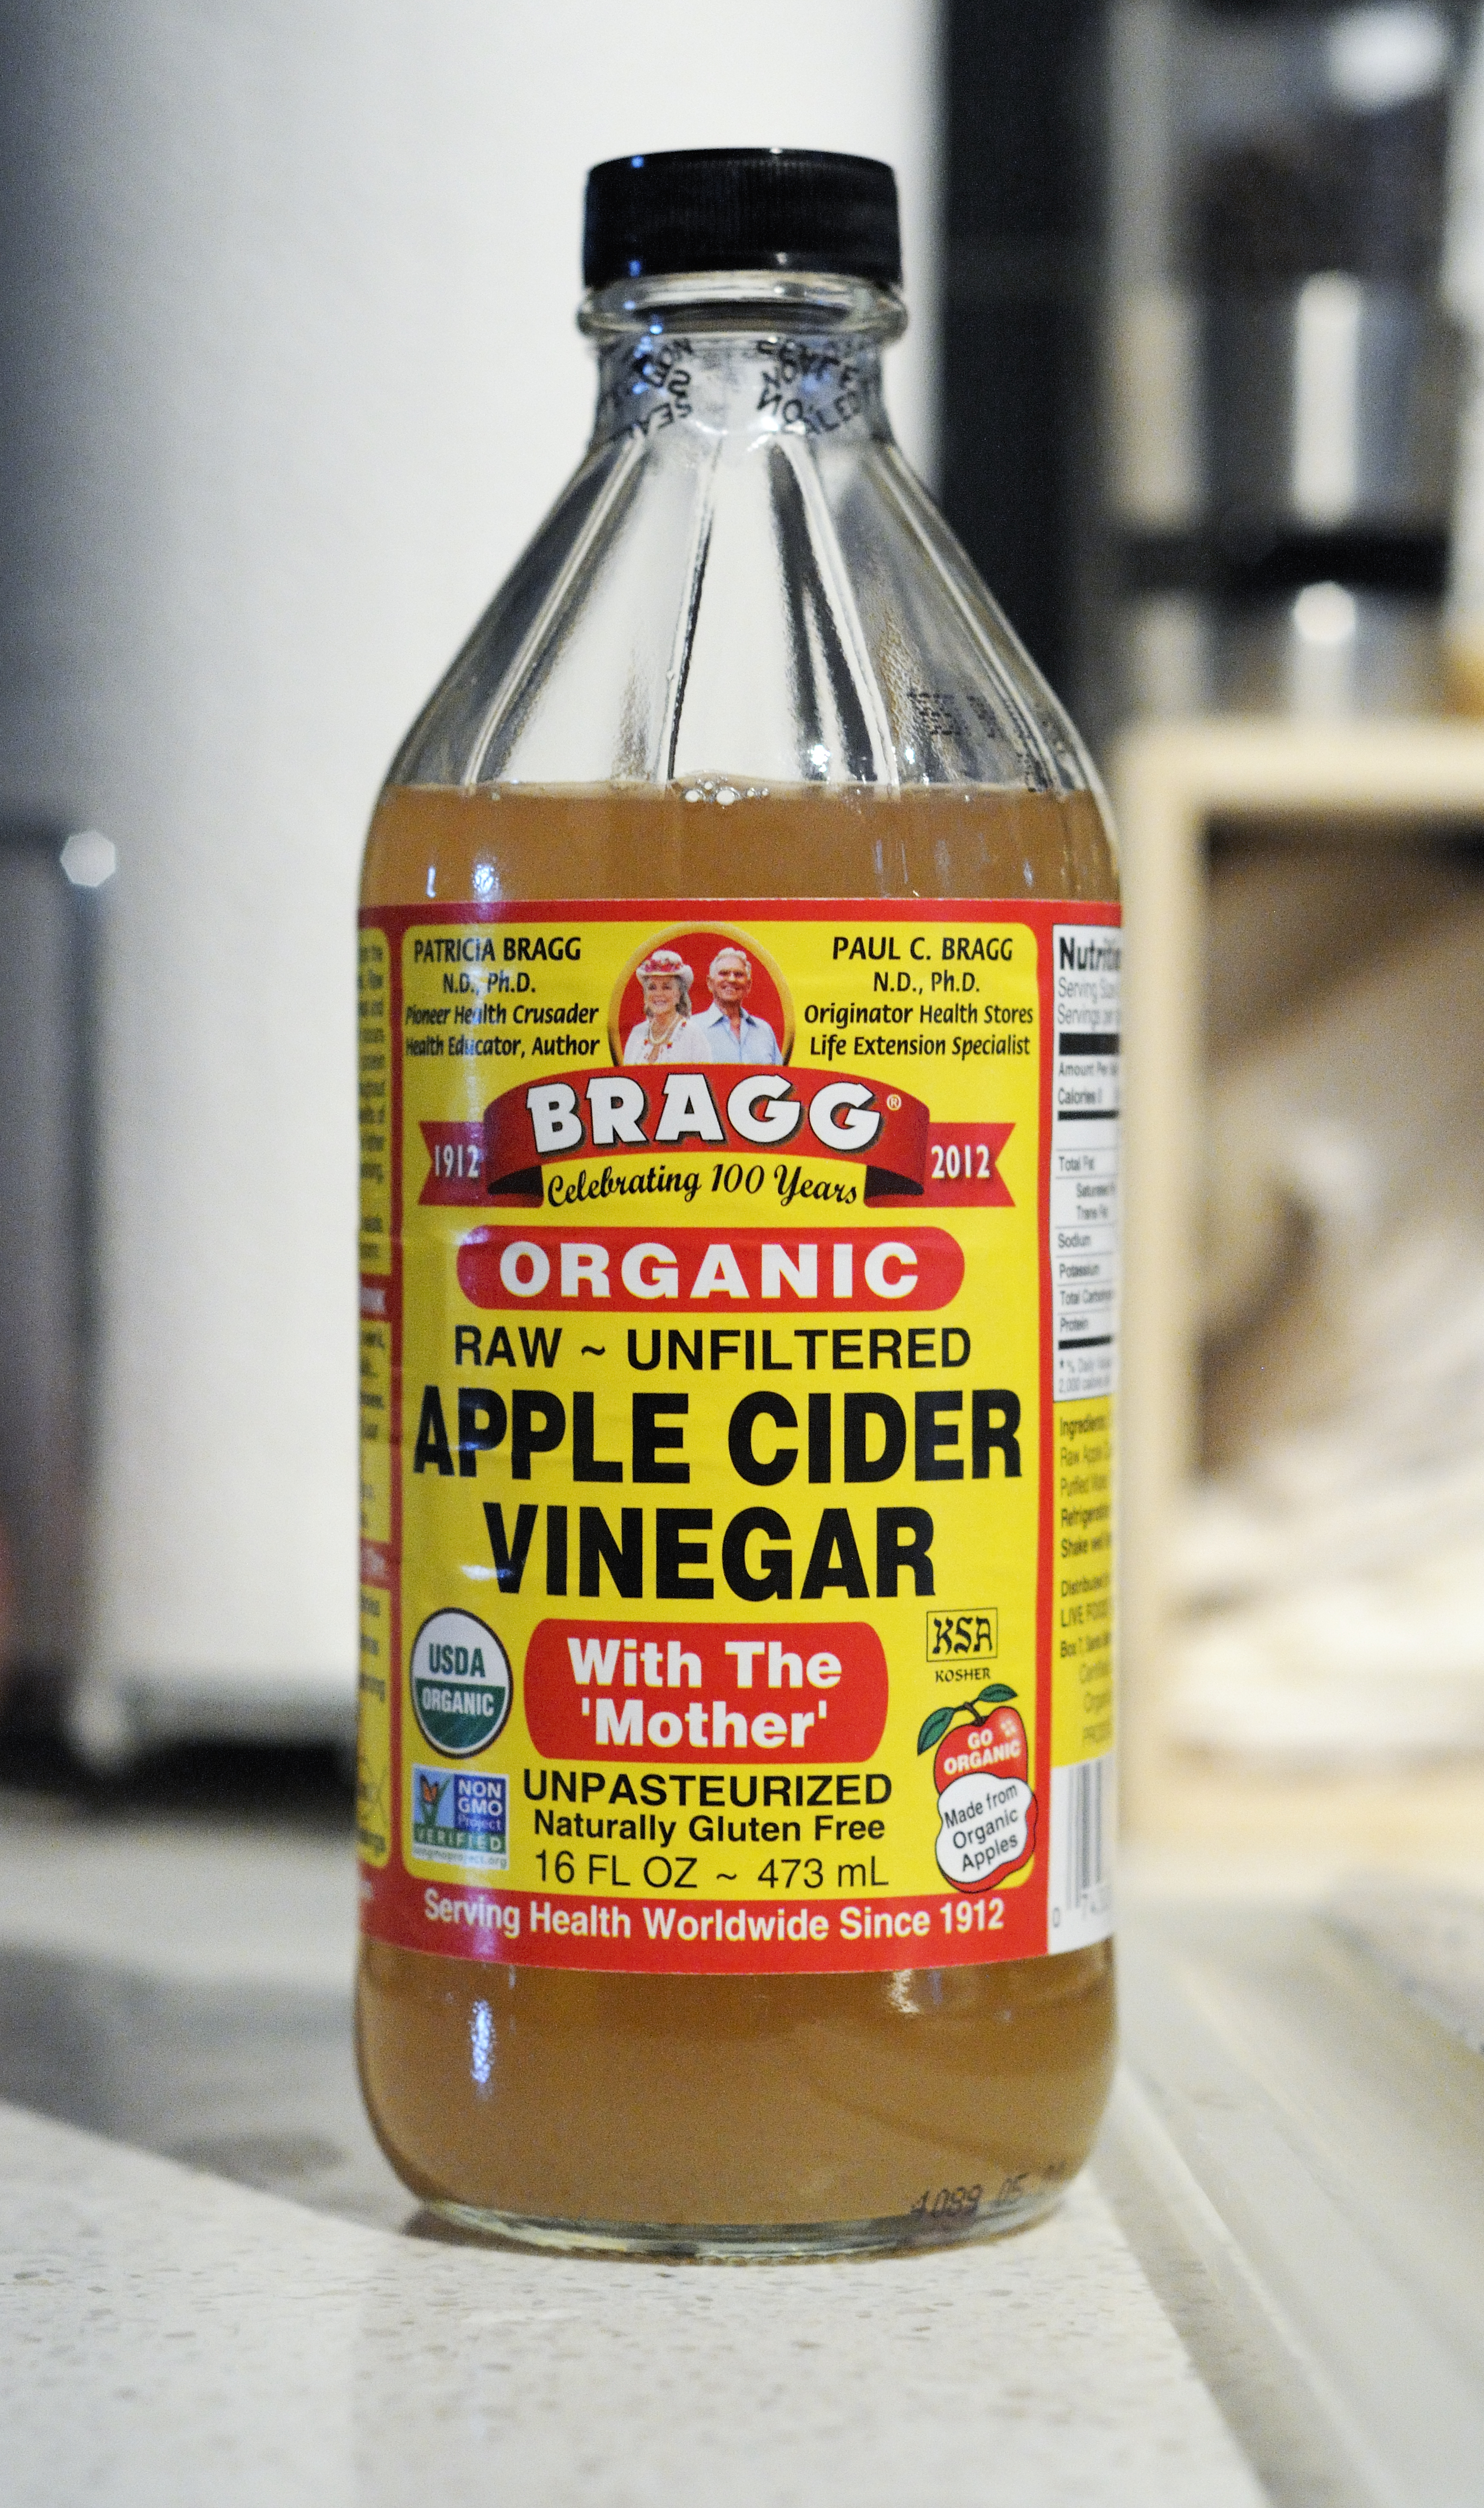
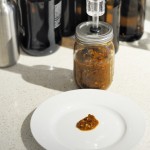
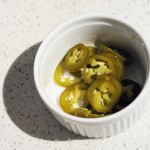
Bragg unpasteurized, unfiltered vinegar acts as a starter culture.
The pathway to vinegar production is very basic. All that is needed is an alcoholic liquid, a culture of acetobacter, and oxygen. Acetobacter will oxidize ethanol into acetic acid, transforming your alcoholic base into a non-alcoholic vinegar. Making vinegar is as simple as fermenting out a beer (or really any alcoholic beverage), pitching a acetobacter culture (this will occur spontaneously with enough time), and leaving the liquid open to oxygen. Eventually the ethanol in the liquid will be converted to acetic acid, and you’ll be left with vinegar.
Like beer production, your recipe formulation will have a profound effect on the final vinegar. Finding good information about how recipes for vinegar should be formulated was a challenge. My base assumption is that I can take much of what I understand about beer formulation and expect those same types of flavors to be carried through to the final vinegar. The biggest variable to account for is starting gravity. This variable impacts both the residual sweetness in the vinegar, as well as the final level of acidity in the vinegar. These two components affect the sweet/sour balance of the final vinegar. At the very least, it seems prudent to produce roughly an 8% ABV beer in order to achieve a final vinegar with approximately 8% acidity.
As brewer’s, we know that there is a tremendous diversity within the broad category of ‘beer’. A standard industrial lager and barrel-aged Russian Imperial Stout are both ‘beer’ but are world’s apart in terms of the impression they leave us with. This diversity can easily be applied to malt vinegar. Malt vinegar does not have to be a generic product. It can be equally as diverse and complex as the beer we produce. For my initial attempt at vinegar I wanted to try and produce something a bit richer than the industrial malt vinegars most of us are familiar with. With hints of dried fruit, a subtle sweetness, toasty malt character, and sharp acidity, my hope is to produce something closer to the fine aged balsamic vinegars of Modena.
Dark Malt Vinegar Recipe
Specifications:
Size: 1.25 gal
Efficiency: 80%
Attenuation: 63%
Original Gravity: 1.108
Terminal Gravity: 1.040
Color: 25.23 SRM
Alcohol: 9.08& ABV (before transformation into vinegar)
Bitterness: 0.0 IBU
Malt Bill:
3.75 lb (78.9%) Maris Otter (Muntons)
0.5 lb (10.5%) Special B Malt (Dingemans)
0.5 lb (10.5%) 2-Row Caramel Malt 60L (Briess)
Mash Regiment:
149 °F, 60 min
Kettle Additions:
0.25 Tablet Whirlfloc (Irish moss) – 15 m
0.25 tsp Wyeast Nutrient – 10 m
Yeast:
1/2 pack Safale S-04
The Process
- Approximately one-gallon of wort was produced using a brew-in-a-bag no sparge method.
-
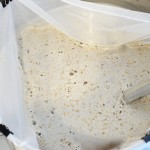
- Mashing and boiling is completed in a single vessel using the brew-in-a-bag method.
-
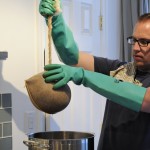
- Separating the grain from the wort.
-
- The initial beer was fermented out cleanly using Safale US-04 yeast for approximately 1.5 weeks at ambient room temperatures. Once fermentation was completed, the fermenter was chilled to compact the trub and yeast cake.
- The beer was carefully decanted off the initial yeast cake into a clean 1-gallon glass fermenter. The beer was purposefully allowed to splash into the secondary fermenter to allow for some oxygen pickup. 1/4 c. of Bragg unpasturized vinegar was added as a starter culture. 1/8 oz. heavy toast American Oak cubes were added to the liquid. A mesh bag was rubber-banded over the top of the secondary fermenter to allow for oxygen exchange.
- Vinegar was allowed to age and acidify for approximately 4-months at ambient temperatures. pH readings and tastings were taken at regular intervals:
- After 2-weeks: pH 3.58
- After 4-weeks: pH 3.14
- After 8-weeks: pH 2.99
- After 14-weeks: pH 2.81 – Bottled despite somewhat high pH. Taste is quite sour. Next time I will shoot for a pH of 2.4-2.7.
Tasting
 The vinegar is quite fruity on the nose, almost grape-like. There is a residual grainy character and a relatively sharp acetic acid note, although not quite as piquant as commercial vinegars. The flavor however is sharpely acidic. Once the initial burst of acidity subsides, there is a nice crackery malt finish with a faint hint of caramel and dark fruit. There is a low to moderate amount of residual body and sweetness that helps soften the sharp acidity, although this lacks the concentration and depth of flavor found in a good balsamic vinegar.