I’m bringing gluttony back. And pork shall be my accomplice. Heady and emboldened by my previous duck confit success, I decided it was time to confit something even more decadent than duck — pork belly. It seems slightly absurd taking a cut of meat that is primarily fat and slowly cooking it in a bath of more fat, but this recipe creates one of the most succulent bites of meat you’ll ever eat. Absurd or not, it is delicious.
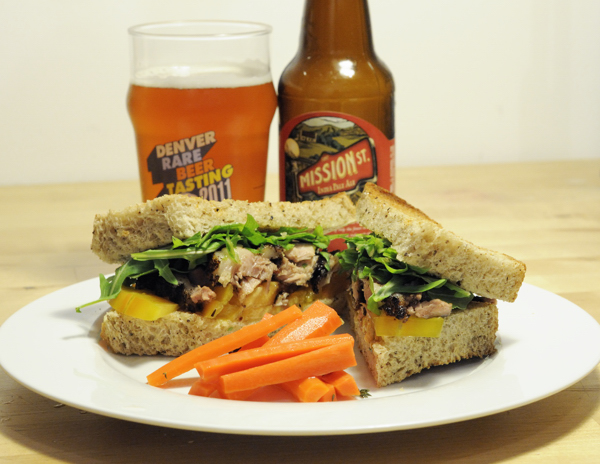
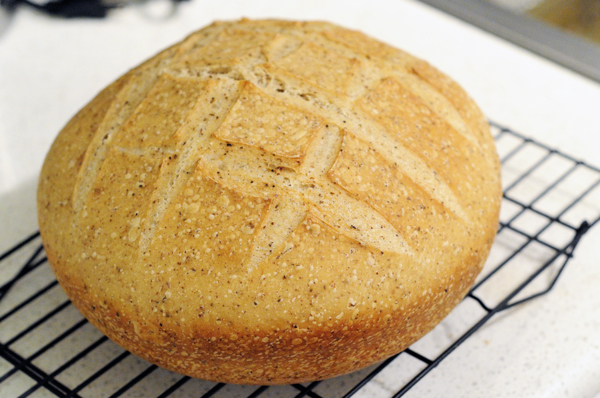
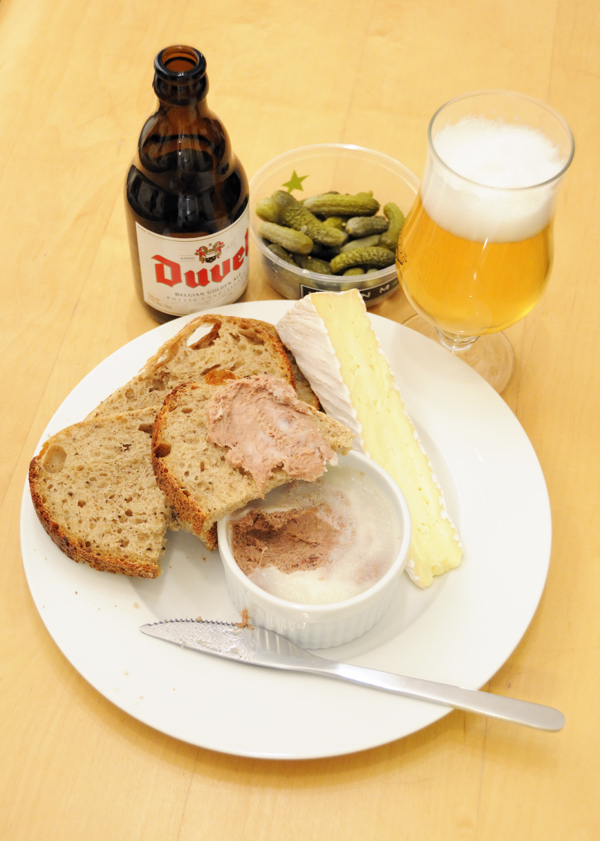
My take on the humble BLT sandwich. Pork belly confit, baby arugula, and heirloom tomato on homemade spent grain sourdough bread. Paired with a side of pickled carrots and Mission Street IPA. The hop notes in the IPA complement the peppery arugula while the bitterness cuts through the fatty pork belly. At $6.99 and six-pack, Mission Street IPA, brewed by Firestone Walker and re-branded by Trader Joe’s, is a great value.
Note: The recipe for pork belly confit was adopted from Michael Ruhlman and Brian Polcyn’s book Charcuterie. This book goes into great detail about confit, rendering fat, and the greater world of charcuterie.
Step 1 – Prepare Your Fat
One of the more difficult requirements of confit is collecting the large amount of fat needed to cook your protein in. While lard is readily available at many markets (look for ‘Manteca’) it tends to be highly processed and hydrogenated. Some butcher shops will sell their own house rendered lard, but it is just as easy to buy some pork fat back and render it yourself. The process is pretty basic. The fat back is diced and then slowly cooked with a bit of water until all of the moisture is cooked out and you’re left with pure melted fat. The liquid is then strained of solids and allowed to solidify. For this recipe I rendered out about 6 pounds of fat back for use in the confit.
-
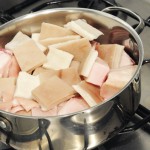
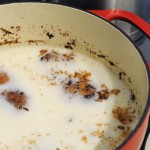
- The pork fat back is slowly cooked with a little water until all the fat renders out.
-
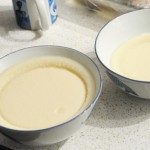
- The rendered fat back is strained and allowed to cool leaving behind a creamy white fat.
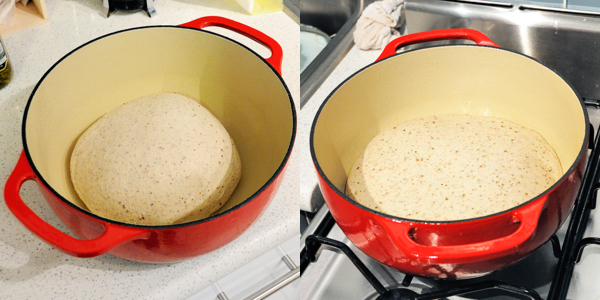
Step 2 – Cure Your Pork Belly
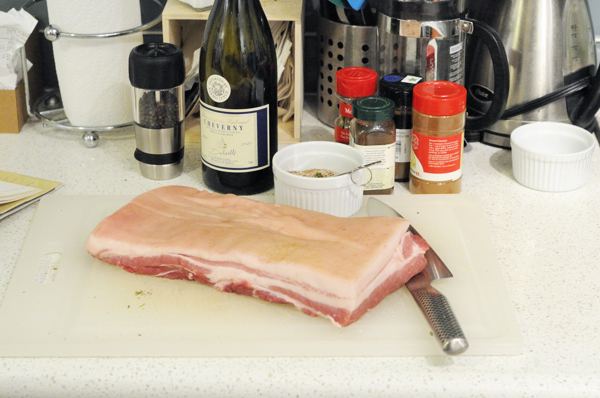
Twenty-four hours before you’re ready to confit your pork belly, the meat is cured. To do this, a mixture of salt and herbs is rubbed over the meat, which is then submerged in a dry white wine and placed in the refrigerator for 24 hours. This infuses the meat with flavor and gives it a preservative quality should you decide to store the meat for future use. I used Jim Drohman’s Pork Belly Confit recipe found in Michael Ruhlman and Brian Polcyn’s book Charcuterie. You can find an online version of the recipe here.
-

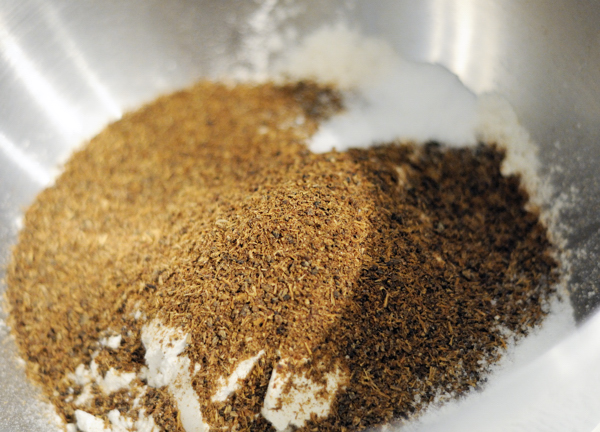
- Dry Cure: Kosher Salt, Thyme, Cinnamon, Cloves, Allspice, and Bay Leaves.
-
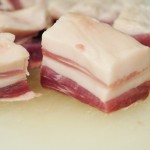
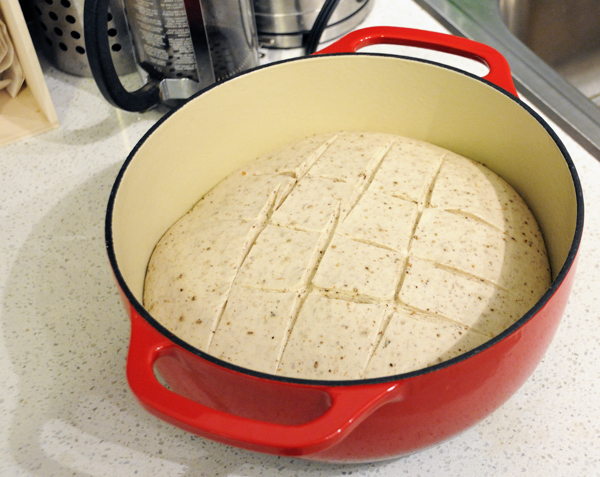
- The pork belly is cubed into portion-sized chunks.
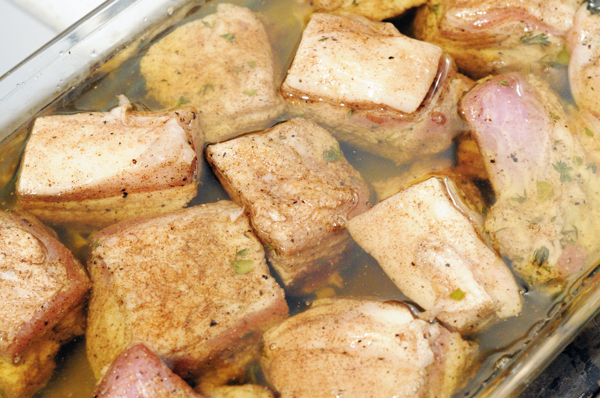
-
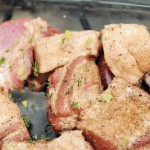
- The pork belly is rubbed with the dry cure before being submerged in a dry white wine.
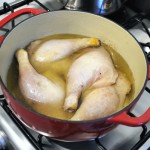
Step 3 – Confit the Pork Belly
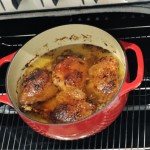
The cubes of pork belly are submerged in a bath of pork fat and slowly cooked.
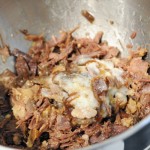
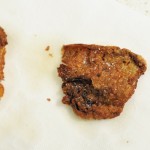
After 24 hours of curing in the refrigerator, the pork is removed from the cure and patted dry. The meat is submerged in the melted lard and cooked at 250°F for 2-3 hours until the meat is completely tender. Once cooked, refrigerate the confit so that the fat solidifies and encases the meat. If fully sealed in fat, the meat should stay good for a couple months. When you’re ready to eat the confit, simply melt the fat off and then reheat in a frying pan until warm and crisp. Retain the lard which can be used again for other confits, biscuits, tortillas, eggs, or pretty much any other recipe calling for fat, oil, or shortening.
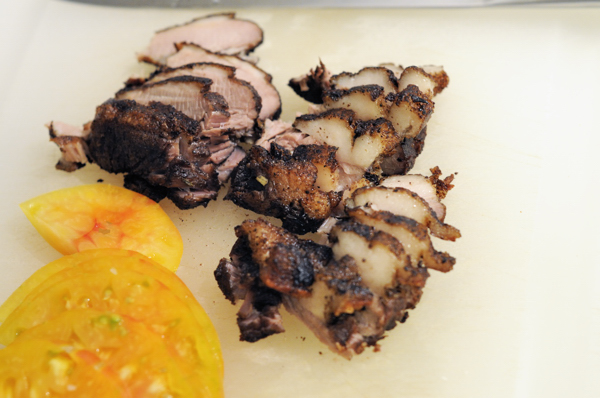
The pork belly is lightly sauteed in a skillet to crisp up the exterior. It is then sliced and placed on toasted spent grain sourdough bread with butter, tomato, and baby arugula.