We brewed a Vienna lager and dry hoppy pilsner to test the merits of low dissolved oxygen brewing.
It’s no secret that I am a huge fan of brewing and consuming lager beers. I’ve brewed an iteration of my Vienna recipe at least a dozen times and feel like I’ve gotten to the point that I know I can brew a reliably delicious lager. That said, I’m not one to rest on my laurels so when I heard about a technique that promised to further improve my lager beers, I had to give it a try.
Earlier this year, I read a post from The Mad Fermentationist regarding low dissolved oxygen brewing and its use in German lager breweries. Learning about this idea from a respected voice within the homebrewing community gave the concept enough validity for me to give it a try.
The Mad Fermentationist post was spurred by a paper, published on germanbrewing.net in which the authors argue that large scale German brewers are able to achieve a fresh German malt flavor in their beers by dogmatically prescribing to a process which eliminates oxidation on the hot side of their brew house. While most homebrewers have written off hot side aeration as the boogeyman, the paper’s authors argue that the true malt character of a beer is quickly destroyed by the introduction of even minimal quantities of oxygen to the hot side of the brewing process.
It is at this point that the paper gets really interesting, proposing methods in which you can employ low dissolved oxygen brewing on a homebrew level. I won’t rehash the entire paper, but I used the recommended steps below to limit oxygen exposure during my brew process:
- Pre Boiling Brewing Liquor: All of the hot water used in my mash was first boiled for 5 minutes, prior to being quickly cooled via a plate chiller to mash temperature and then gently stirred into the mash.
- No Sparge: I eliminated the sparging step from my normal brewing process as it offers another opportunity for oxygen ingress into the mash.
- Chemical Oxygen Scavengers: Prior to mashing in, my strike water was dosed with sodium metabisulfite which acts as an oxygen scavenger during the mash. I aimed to dose the water with 55 mg/L, the recommended dosing rate for beers employing a no-sparge method.
- No Vourlauf: I skipped my normal vourlauf stage as, again, it could be another potential source of aeration in the mash.
The Brew Day
To give low dissolved oxygen brewing a shot, I opted to brew two different beers, a hoppy dry pilsner and a Vienna lager. The paper from germanbrewing.net cites improvements in both hop and malt character, so I figured brewing a hoppy and malty beer would be a good test. Both beers were brewed back-to-back on a single day and fermented with two individually grown cultures of White Labs WLP833.
Pretty early in the brew day, it became apparent that there was going to be a definite impact on the final beer. The first hint was that the mash didn’t smell the way a mash normally does. The aromas seemed muted, with a hint of sulfur in the air. I’ve never used sodium metabisulfite before and figured this was normal and would eventually blow off during the boil and fermentation. Unfortunately, it did not. Again, during the boil, the wort simply did not smell right. More sulfur.
Fermentation & Packaging
Post boil, I rapidly chilled the beer to 50°F and oxygenated the beer as I normally do, inline en route to my fermenter. I immediately pitched my healthy lager yeast starters and set my temperature controller to 50°F. Within 12 hours I had an active fermentation going. Again, smelling the blow-off from the fermentation it seemed to contain a ton of sulfur (much more than I normally get, even with lager yeast).
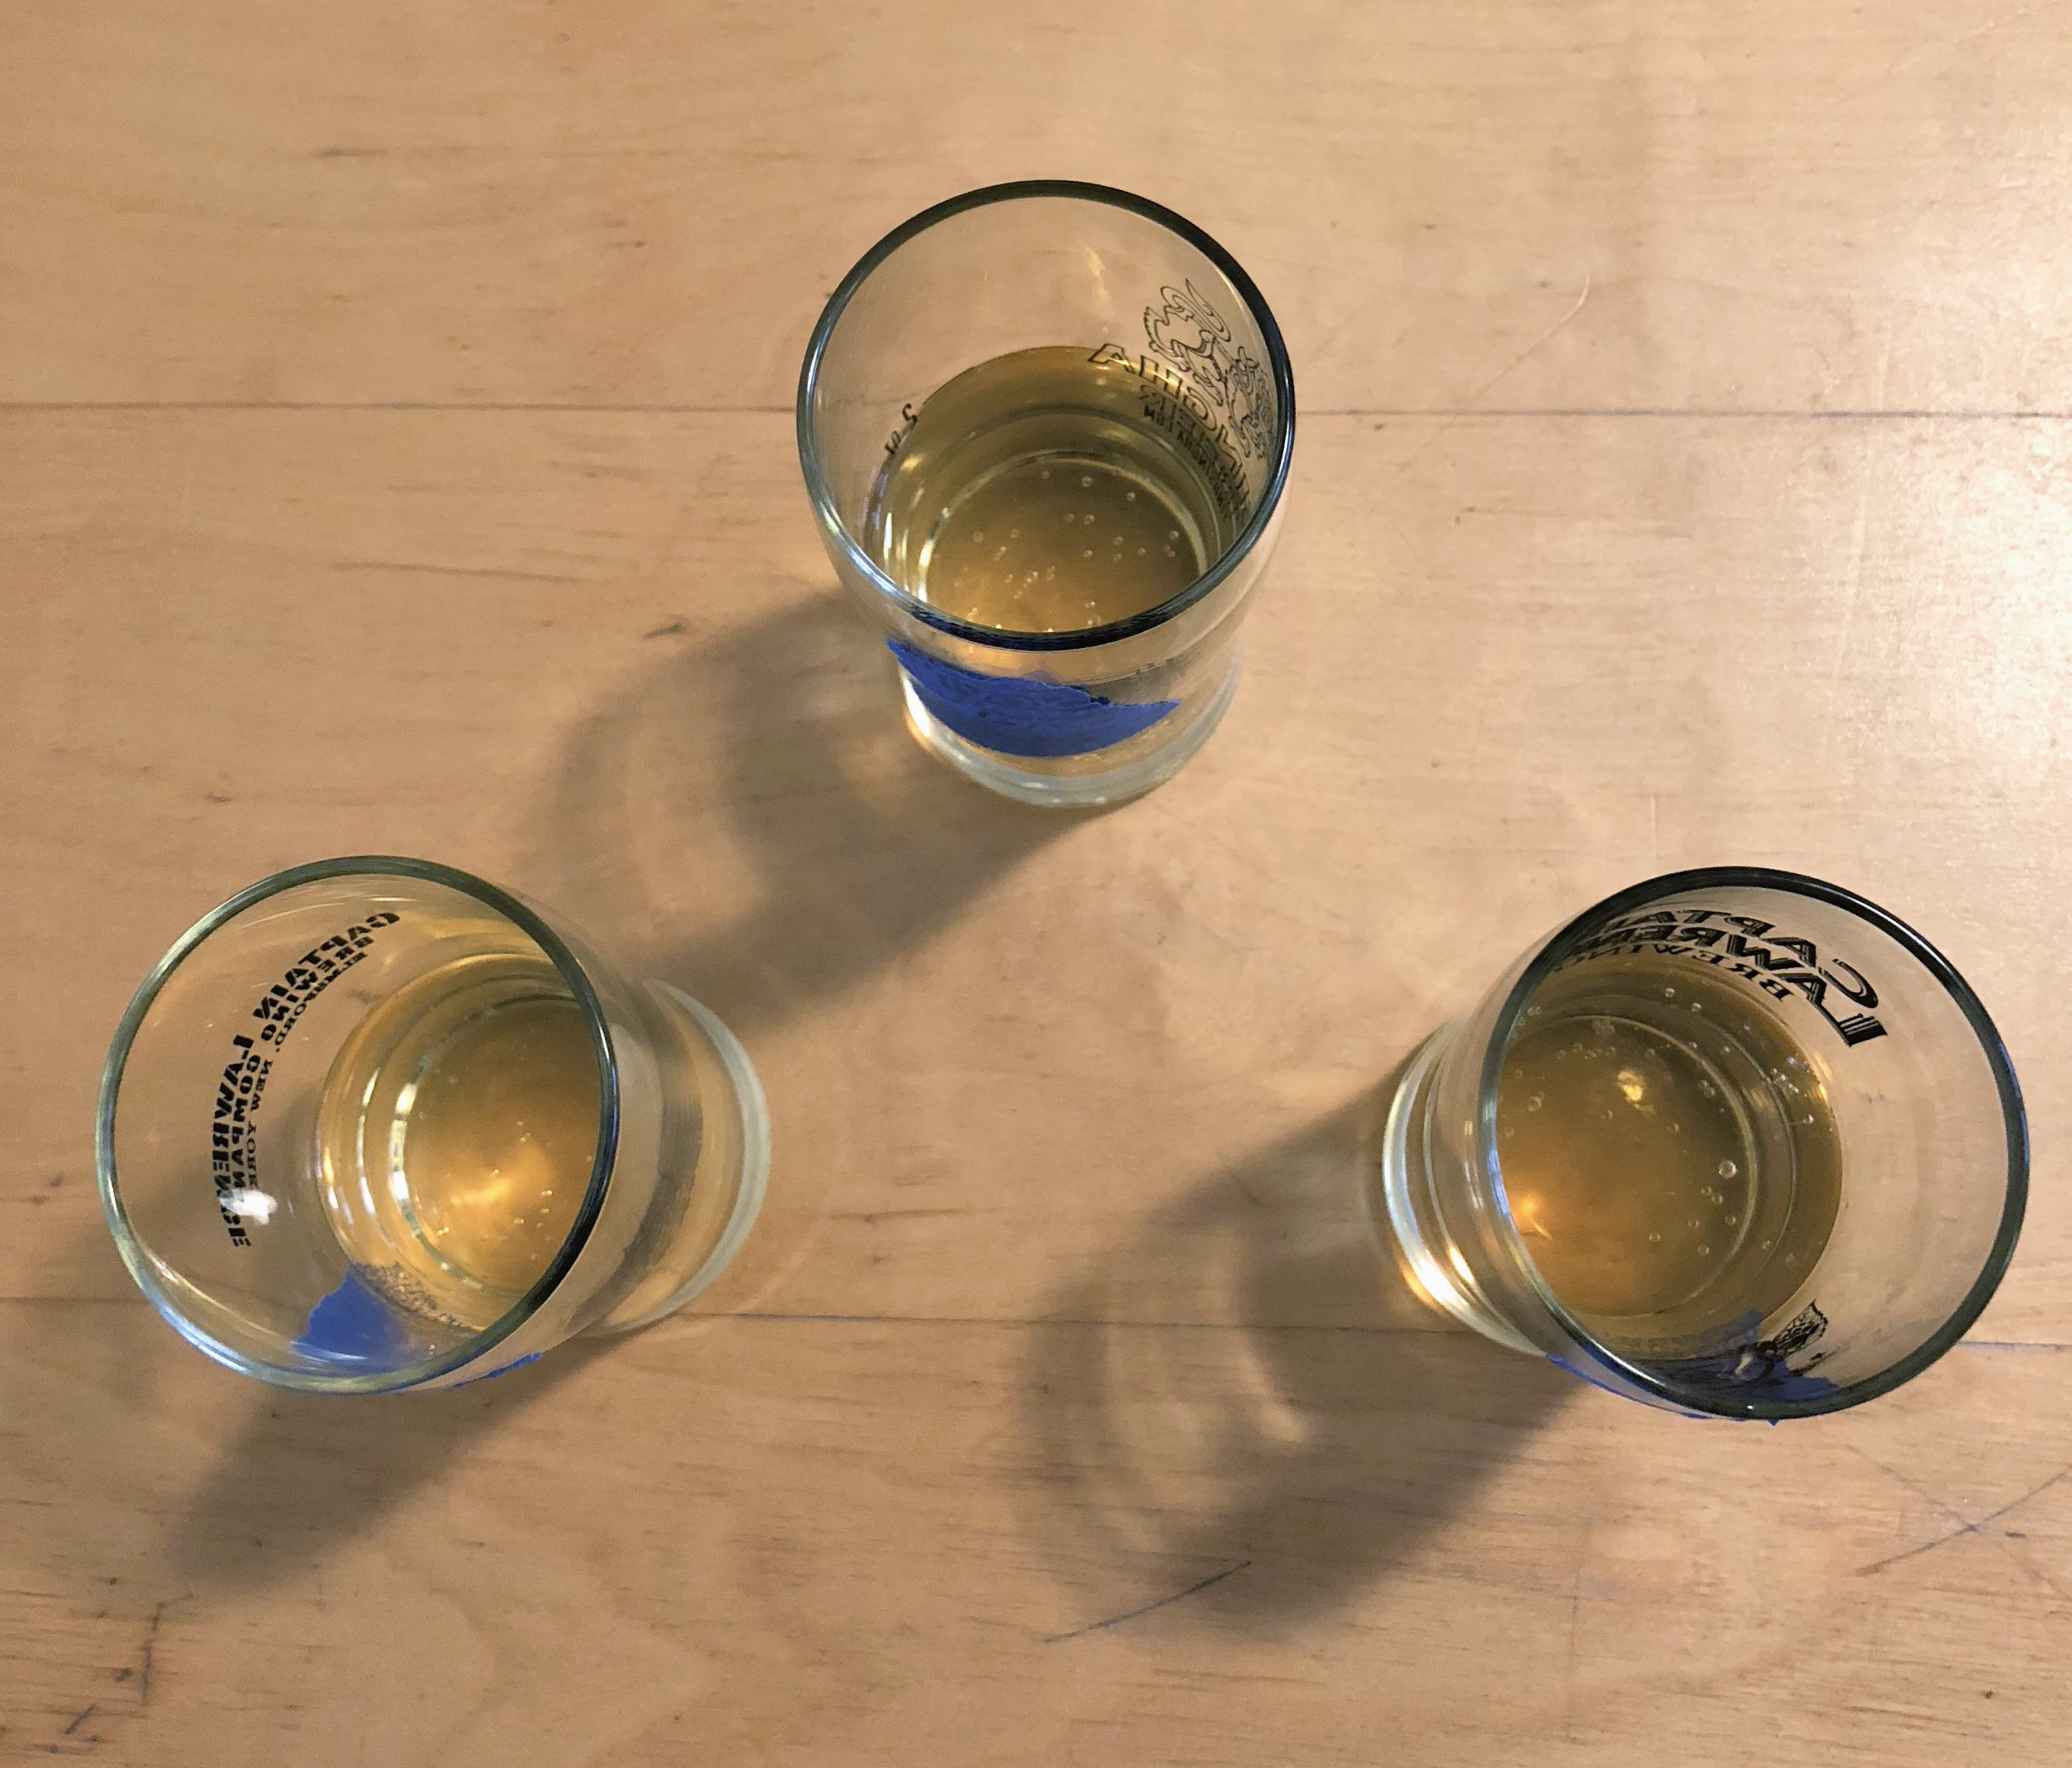
After about 2.5 weeks of fermentation, inclusive of a diacetyl rest, I carefully racked the beers to kegs using a closed system pressurized with CO2. Once in keg, I pulled a sample to taste. The beers absolutely stank of sulfur and were an undrinkable mess. Ever the optimist, I went ahead a decided to lager the beers under pressure, faithfully purging the keg daily hoping to expunge the vile aromas from the beers. After another 6 weeks of lagering at near freezing, the sulfur compounds remained. Unfortunately, both beers were a lost cause.
Conclusions
These are the first beers that I’ve made in at least the past 5 years that I’ve considered completely unsalvageable.This seemed really odd to me, as the Mad Fermentationist did not have nearly as horrendous results. Something stunk, and it wasn’t just my beer. So I went back to my notes.
My first thought was perhaps I had overdosed the beer with sodium metabisulfite. For the pilsner beer, I dosed the strike water with 11.24 grams of sodium metabisulfite into 20.4 liters of water. Redoing the math, this works our to 550 mg/L of sodium metabilsulfite, not the 55 mg/L that I was shooting for. Evidently I failed in my studies of the metric system and buggered up a decimal point, not just once, but twice. I felt like a complete idiot having only definitively proven that dosing a mash with 550 mg/L of sodium metabisulfite will make your beer stink really badly. That said, this project serves as a good reminder that attention to detail is key to successful brewing and even the most minor of an error can really screw up your beer.
Now that I have a clear grasp of junior high school level math, I think it’s mandatory I repeat the experiment using the appropriate levels of sodium metabisulfite. Stay tuned!
Hoppy Dry Pilsner Recipe
Specifications:
Size: 3.25 gal
Efficiency: 70% (No Sparge)
Attenuation: 84%
Original Gravity: 1.052
Terminal Gravity: 1.008
Color: 4.25 SRM
Alcohol: 5.78% ABV (calculated)
Bitterness: 18.8 IBU (does not account for significant whirlpool isomerization)
Malt Bill:
5.0 lbs. (74.1%) Weyermann Pilsner Malt
1.0 lbs. (14.8%) Weyermann Vienna Malt
Sugar Additions:
0.75 lb. (11.1%) Dextrose (Corn Sugar)
Mash Profile:
149°F – 60m
Water Treatment:
Extremely Soft NYC Water
3 g. Calcium Chloride (to mash)
55 mg/L Sodium Metabisulfite (to strike water).
Hopping:
6 g. Warrior (15.4% AA) – 90m
25 g. Hallertauer Hersbrucker (2.5% AA) – Whirlpool 10m
25 g. Cascade (6.9% AA) – Whirlpool – 10m
25 g. Czech Saaz (2.2% AA) – Whirlpool – 10m
20 g. Czech Saaz (2.2% AA) – Dry Hop 3 Days
20 g. Hallertauer Hersbrucker (2.5% AA) – Dry Hop 3 Days
Kettle Additions:
0.5 ea. Whirlfloc Tablets (Irish moss) – 15m
0.5 tsp. Wyeast Nutrient – 10m
Yeast:
White Labs WLP833 German Bock Lager
Hoppy Dry Pilsner Tasting Notes:
Judged as a BJCP 5D German Pilsner
Aroma (2/12):
This beer has a very high sulfur aroma that reminds one of burnt matches, egg, and perhaps even a little bit of cooked cabbage. It is very hard to get past the overwhelming sulfur in this beer. That said, there is some light bready malt. The ample hopping is just barely perceptible, largely due to the abundance of sulfur. This is pretty offensive.
Appearance (3/3):
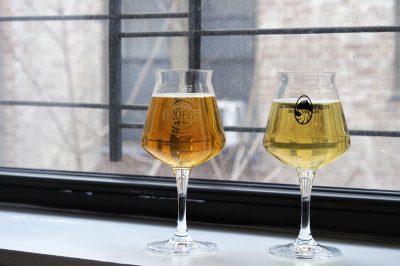
This is a beautiful beer. The beer strikes a crystal clear, light golden hue. There is a low white persistent head with big foamy bubbles and excellent lacing.
Flavor (4/20):
I recently heard during a brewer interview on The Brewing Network that sulfur compounds are largely not perceivable by our taste buds and that most of the perception we get of sulfur in beer is either on the nose or via retronasal breathing after we swallow. This certainly is apparent in this beer as the actual flavor is much better than the aroma with the most offensive sulfur coming through post swallow. The malt character of this beer is pretty pleasant, clean, slightly sweet, and bready. The beer is quite crisp and dry. There is a medium-plus hop flavor that is a bit floral with just a hint of citrus. The bitterness is firm, but pleasant. This would be an excellent beer if there wasn’t such a blast of sulfur.
Mouthfeel (5/5):
The beer has a medium-low body and features a great crisp effervescence. Very lean and drinkable.
Overall Impression (2/10):
Without the sulfur, I’d be willing to bet that this is a 40+ point beer. Unfortunately, the sulfur is so utterly offensive that it is tough to evaluate the beer that lies beneath.
Fair (16/50)
Bonus: See how judges scored this German Pilsner at the 2017 Homebrew Alley competition in NYC.
Vienna Lager Recipe
Specifications:
Size: 3.25 gal
Efficiency: 64% (No Sparge)
Attenuation: 84%
Original Gravity: 1.052
Terminal Gravity: 1.008
Color: 10.75 SRM
Alcohol: 5.73% ABV (calculated)
Bitterness: 21.6 IBU
Malt Bill:
5.0 lbs. (64.5%) Weyermann Vienna Malt
1.50 lbs. (19.4%) Weyermann Dark Munich Malt
1.25 lbs. (16.1%) Weyermann Pilsner Malt
Mash Profile:
147°F – 60m
Water Treatment:
Extremely Soft NYC Water
3 g. Calcium Chloride (to mash)
55 mg/L Sodium Metabisulfite (to strike water).
Hopping:
1.5 oz. Hallertauer Hersbrucker (2.5% AA) – 90m
0.5 oz. Hallertauer Hersbrucker (2.5% AA) – Whirlpool 10m
Kettle Additions:
0.5 ea. Whirlfloc Tablets (Irish moss) – 15m
0.5 tsp. Wyeast Nutrient – 10m
Yeast:
White Labs WLP833 German Bock Lager
Vienna Lager Tasting Notes:
Judged as a BJCP 7A. Vienna Lager
Aroma (4/12):
The beer has a medium-plus sulfur nose reminiscent of cooked eggs and burnt matches. Compared to the pilsner, the sulfur is less intense, although the character is extremely similar. There are some nice toasty malt aromas that just peek out beyond the sulfur.
Appearance (3/3):
The beer is a beautiful sparkling clear light copper color that sits just at the bottom end of the SRM range for the style. The beer features golden orange highlights when held up to the light and is capped with a mousey white head that persists. Some judges may argue that the beer is too light, but I think it’s spot on.
Flavor (8/20):
As with the pilsner, the sulfur is present, but much less dominate on the palate than the nose. Getting past the sulfur, there is a really nice toasty malt component that has a drying character to it. This beer is not nearly as intense in malt sweetness and complexity as many craft examples, but is perfect for being the session beer that I think Vienna Lager should be. On the finish is a firm bitterness that further accentuates the beer’s dryness. This beer reminds me of Sierra Nevada’s 2016 version of Oktoberfest which this past year was lean on the malt, and spicy in its hop character.
Mouthfeel (3/5):
The beer has a medium-low body with plenty of crisp carbonation that is perhaps a touch high, but quite pleasant and refreshing.
Overall Impression (4/10):
Again, this could have been a really excellent beer if it wasn’t for the offensive sulfur character that is dominating, particularly on the nose. The recipe is somewhat on the lower end of the intensity spectrum for the style, leaving it much more quenching than many of the craft examples that I’ve tasted.
Good (22/50)
Bonus: See how judges scored this Vienna at the 2017 Homebrew Alley competition in NYC.