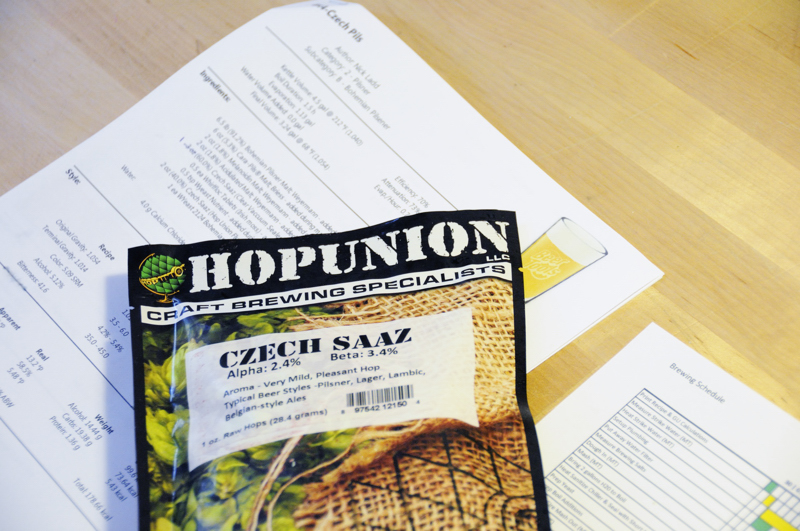
Hop Union Czech Saaz leaf hops packaged in one ounce nitrogen purged opaque bags.
Most of the time, brewdays go smoothly; there can be a zen-like dance between brewer, equipment, and ingredients where all marks are hit, stress is minimized, and all is right in the brew-world. This was not one of those days. Learning how to react to the variables thrown at you during the course of a brewday and making intelligent reactions is critical to becoming a better brewer. No matter how much preparation goes into your brewing, things happen; your reactions determine what impact unexpected variables will have on the final beer.
Before I get into the brewday shenanigans, let’s talk about why I’m brewing a Czech Pils.
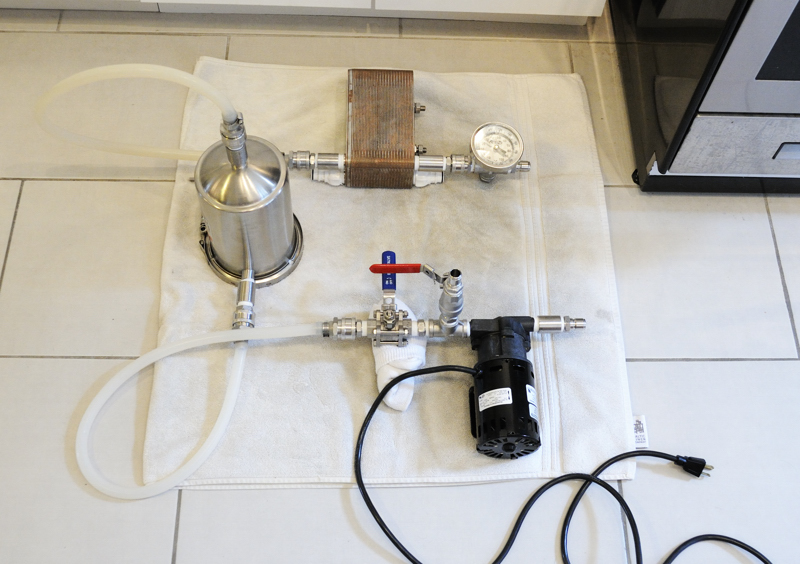
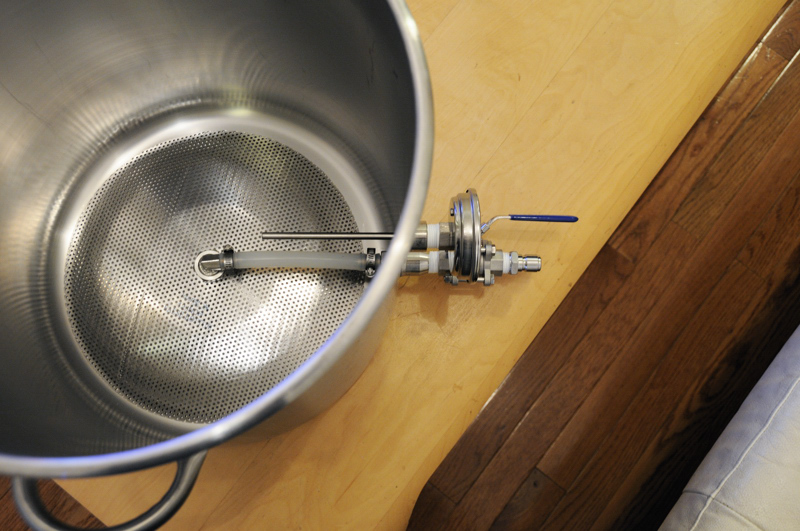
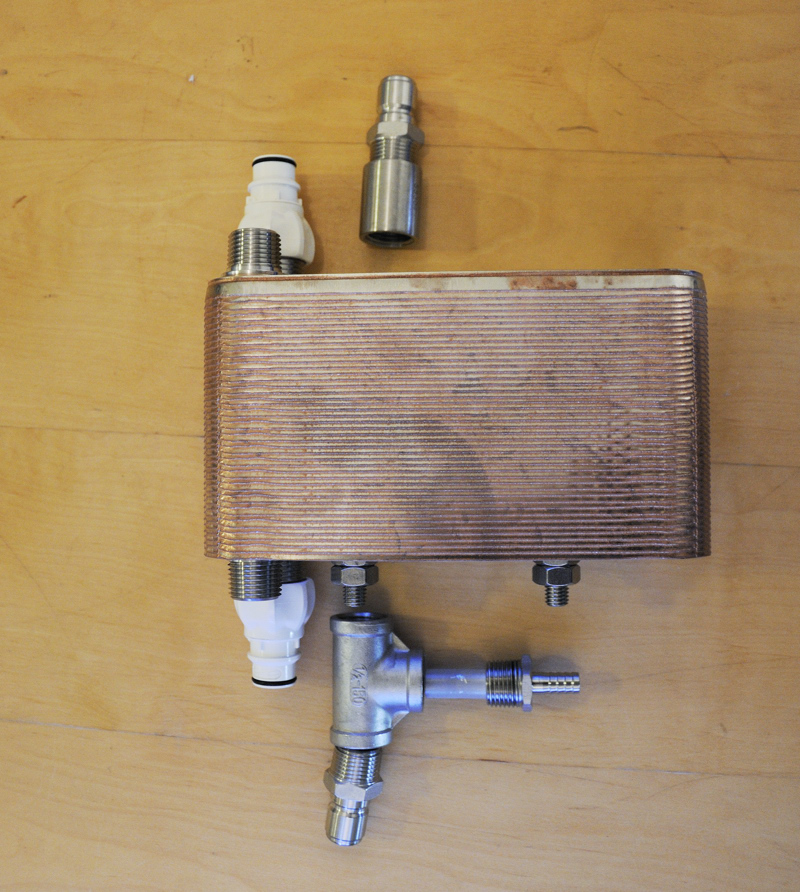
Blichmann Hop Rocket inline between the pump and plate chiller.
First and foremost, Czech Pils is delicious – enough said. Czech Pils also happens to be a clean, hop-forward lager that showcases the Saaz hop. This style would serve as the perfect platform for testing out my new toy – a Blichmann Hop Rocket. This contraption acts as a hop back, sitting in-line on the hot side between pump and chiller. This allows you to run hot wort through a bed of leaf hops and then chill almost immediately. It prevents too much trub from getting into the chiller, but more importantly gives another opportunity to push hop aroma and flavor into your beer. For this recipe, I am specifically interested in seeing how much and what kind of hop character the hop back provides. In formulating the hop bill for this recipe, there is a singular bittering charge with everything else going into the hop back post-boil. I can be reasonably confident that any hop aroma or flavor can be primarily attributed to the hop back addition.
The Brewday
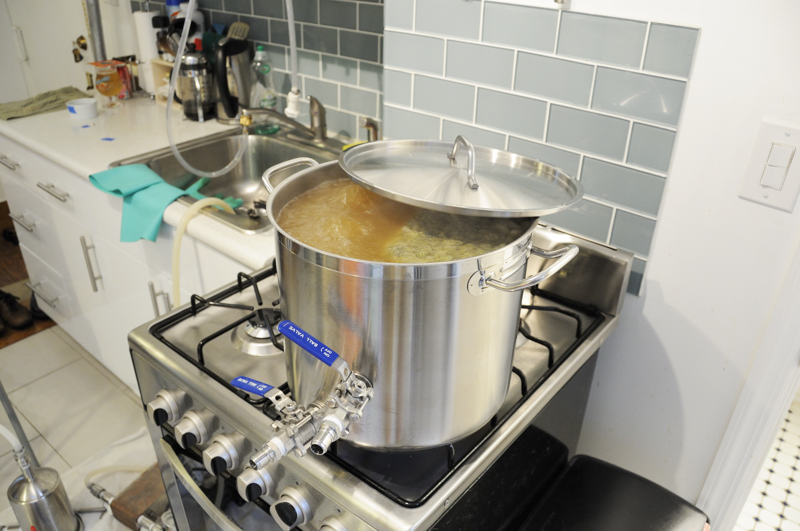
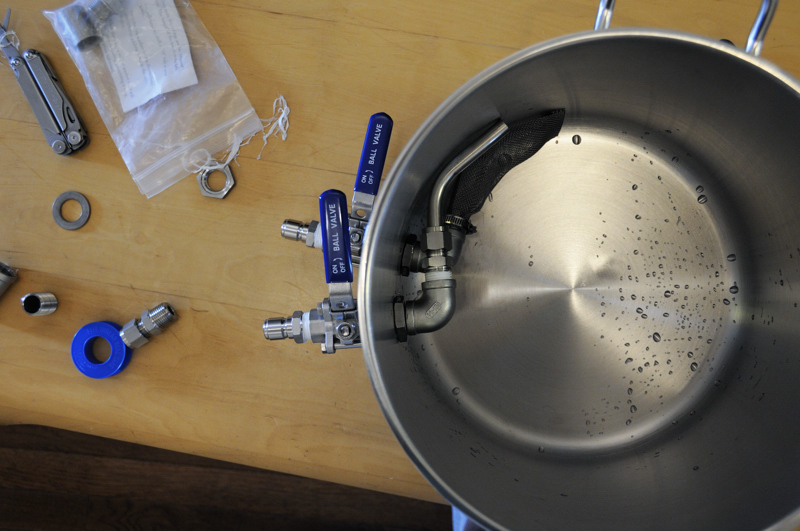
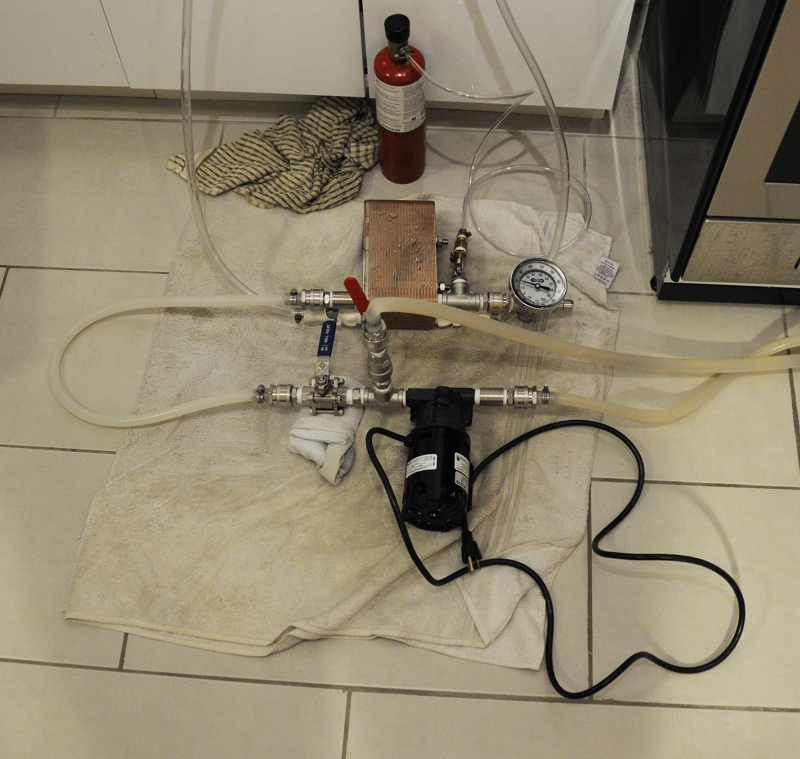
Living on the edge, boiling 4.5-gallons in a 5-gallon kettle.
Problem 1: Yeast Selection
My problems started three days before the scheduled brewday when I went to pick up ingredients at my local homebrew shop. The recipe I developed originally called for Wyeast 2001- Urquell Lager. Unfortunately, my local shop didn’t have this strain in stock. A quick look at Wyeast’s web site led me to select Wyeast 2278 – Czech Pils as a back up. Luck would have it that they had this in stock, but the packs were 5 months old. The brew shop offered to give me a second pack at no cost, but adding yeast that old to a delicate lager was not an idea I wanted to entertain. I finally ended up selecting Wyeast 2124 – Bohemian Lager. This strain is the work horse used in most commercial lager around the world, and should work well for my beer. Best of all, the pack was only a week old. The lesson to take away is that when it comes to yeast, I’d rather compromise on strain selection and get the freshest yeast I can, rather than risk using yeast that likely has low viability – especially when brewing a lager.
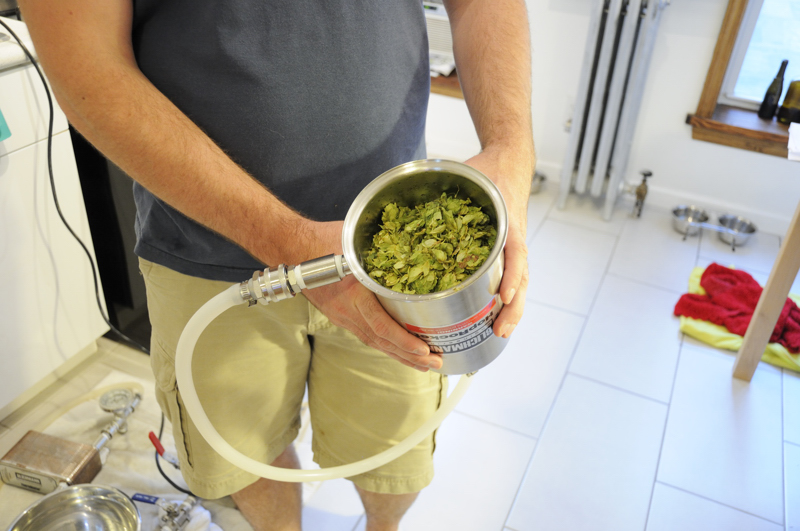
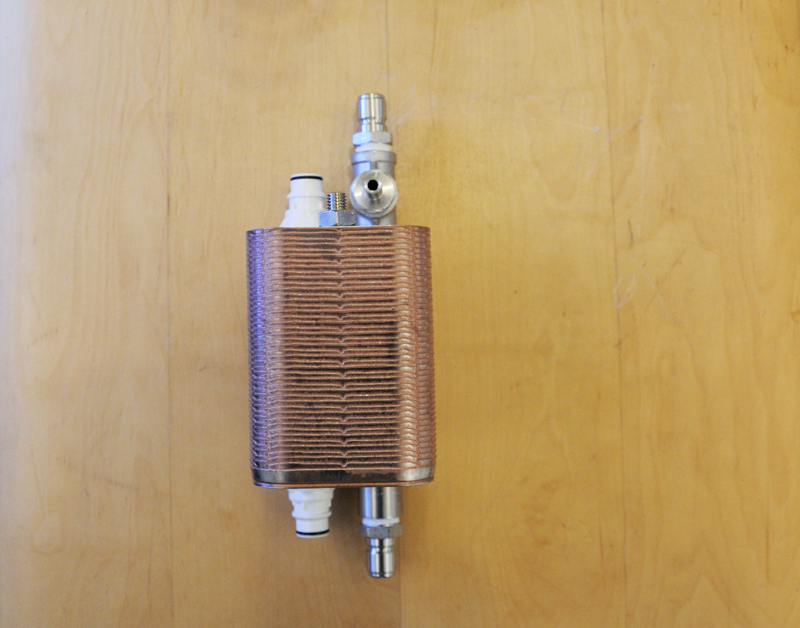
Hop back fully loaded with 2 oz. Czech Saaz hops.
Problem 2: Where’d my Volume Go?
My mash went perfect; all temperatures and steps were hit. The problem occurred when I transferred everything to my kettle. When I measured my pre-boil volume I was about 0.7 gallons short of my target. My initial reaction was to start heating water to add back to my mash tun and collect more runnings. Stepping back and pausing for a moment, I decided to measure the gravity of the runnings I had collected in order to calculate how much sugar I had already extracted. It turned out that while my volume was low, I had the right amount of sugar in solution to hit my projected target gravity. To correct the problem, all I needed to do was simply top up my kettle to the projected pre-boil volume. To avoid this problem in the future, I plan to recalculate my mash tun dead space to better hit my projected volumes.
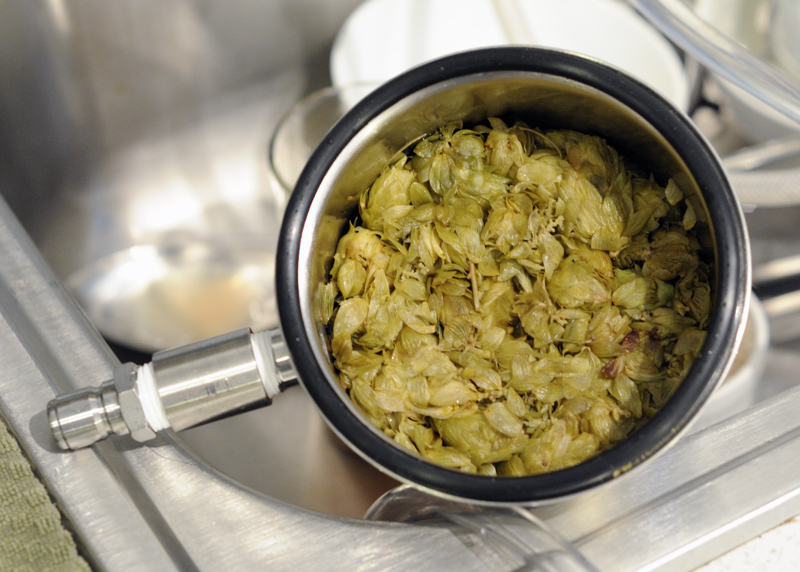
Spent hops in hop back.
Problem 3: Cheesy Saaz Hops
For this recipe, I was working with two lots of Saaz hops that I had acquired from two different shops. The first leaf hops were sealed in clear vacuum bags that had been broken down by the brew shop into smaller lots, and were noticeably brown. The second set of hops were sealed in nitrogen purged Hop Union opaque bags. Since the hops in the clear bags didn’t look great, I had planned to use them to bitter the beer and use the Hop Union sealed hops in the hop back. Once I opened the clear bag hops of dubious provenance, it became clear that they had tell-tale oxidized hop smell of cheese / stinky feet. There was no way I could use these hops in a beer, even for bittering. With the aid of brewing software, I was able to replace the 2 ounces of cheesy Saaz bittering hops with 12 grams of Citra hops; the only other hop I had on hand. This is an extremely unconventional hop to use in a Czech Pils, but in a pinch it should work. There may be some residual American hop character in the background, but I find that preferable to an oxidized hop character.
Problem 4: The Hop Back Drank All My Work
My boil went well. I knew based on the Hop Rocket’s design that it would be difficult to determine how much wort the leaf hops would absorb, and how much wort would be trapped in the Hop Rocket canister. As it turns out, I lost about a half-gallon of wort within the hop back. This lost volume will be taken into account for future beer formulations that use the hop back.
Problem 5: Warm Ground Water
We’ve been riding a heat wave here in Brooklyn with high humidity and temperatures in the mid-90’s. Consequently our ground water has warmed considerably. Even with completely throttling down the wort flow rate through my plate chiller, I was only able to get the wort down to 68° F. With lagers, I like to pitch around 46° F and ferment 48-50° F. After running the wort through my chiller I placed it in my fermentation fridge to bring it down to 46° F before oxygenating and pitching yeast. This took about 4 hours, but should help ensure a clean lager fermentation.
The Recipe
Size: 3.25 gal
Efficiency: 72% (Measured)
Attenuation: 77% (Projected)
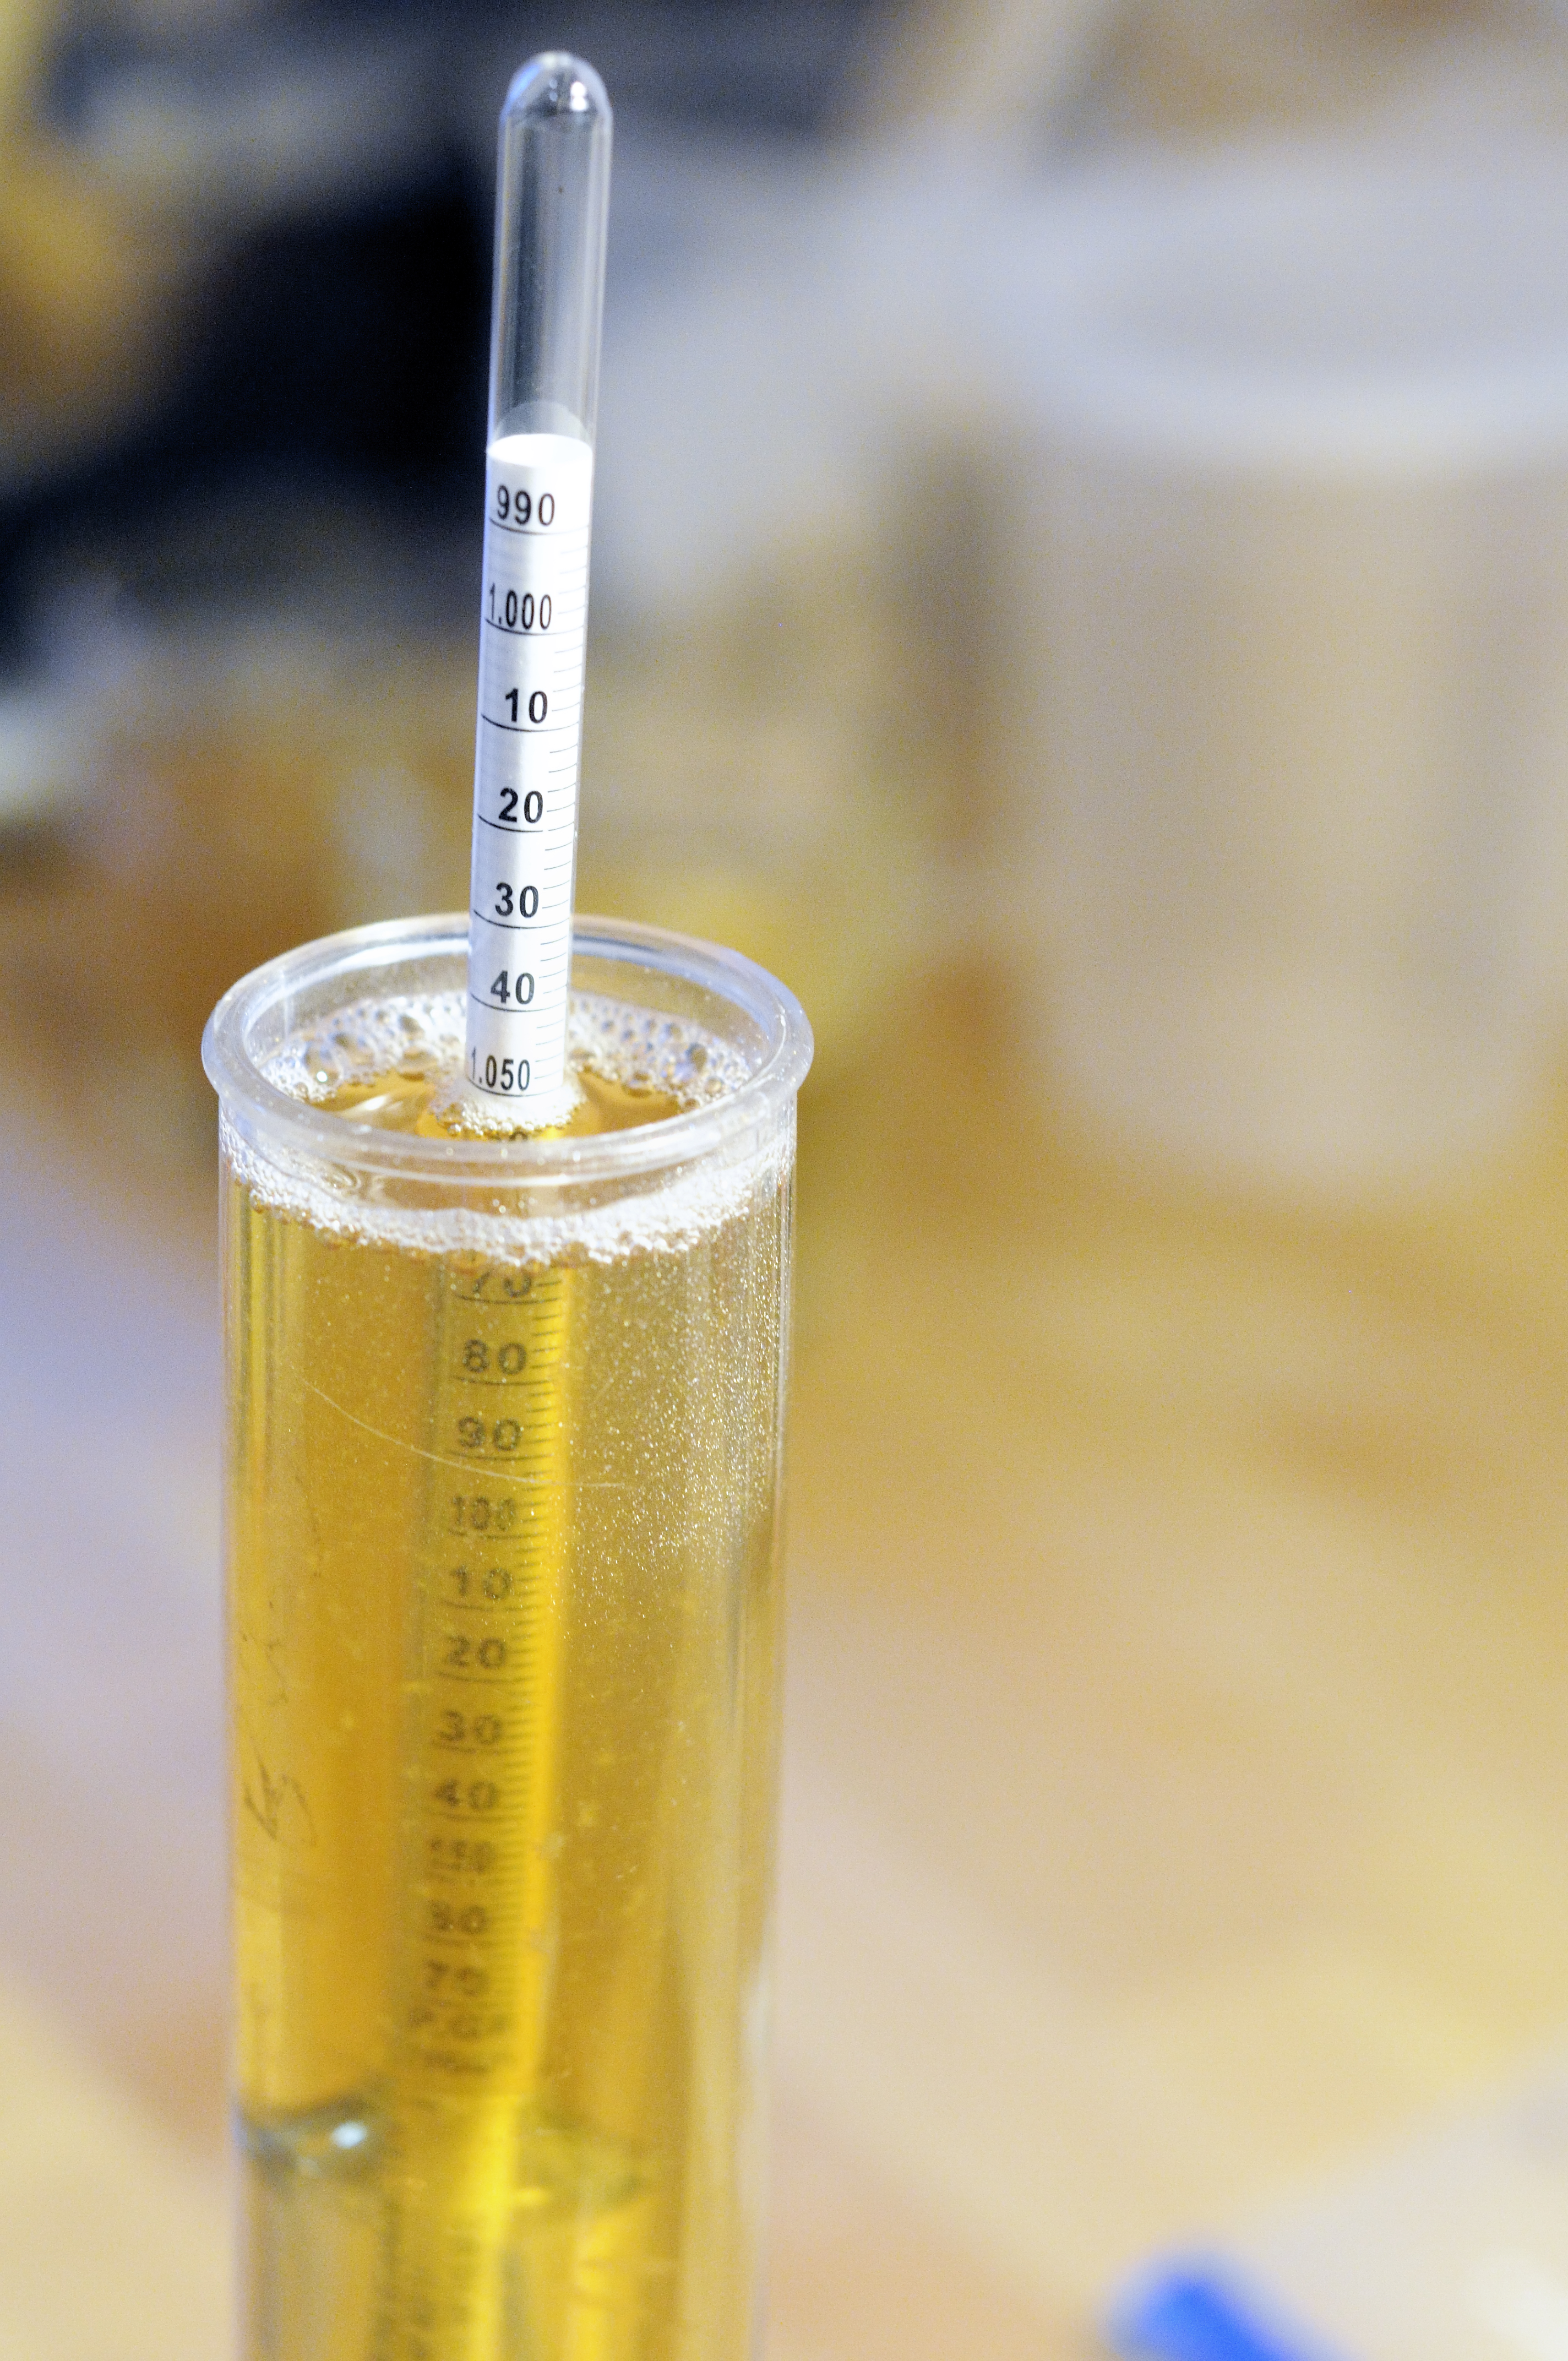
Original Gravity: 1.052 (Measured)
Terminal Gravity: 1.012 (Projected)
Color: 5.09 SRM
Alcohol: 5.24% (Projected)
Bitterness: 48.4 IBUs
Ingredients:
6.5 lb (91.2%) Bohemian Pilsner Malt (Weyermann)
6 oz (5.3%) Cara-Pils® Malt (Briess)
2 oz (1.8%) Melanoidin Malt (Weyermann)
2 oz (1.8%) Acidulated Malt (Weyermann) – Added for pH Correction
90m 1 oz (29.2%) Czech Saaz Leaf (Hop Union Flushed Bag) (2.4% AA)
90m 12 g (12.4%) Citra™ Pellets (14.1% AA)
15m 0.5 ea Whirlfloc Tablets
10m 0.5 tsp Wyeast Nutrient
0m 2 oz (58.4%) Czech Saaz (Hop Union Flushed Bags) (2.4% AA) – Hop Back
WYeast 2124 Bohemian Lager™
Original Gravity 1.052
Mash Regiment:
10m 147 °F
50m 153 °F
10m 168 °F
Notes:
Final Volume into Fermenter = 2.75 Gallons
Yeast Required = 200 billion (per Mr. Malty)
Yeast Production Date: 7/1/13
Yeast Starter = 1L @ 1.040 on stir plate (per Mr. Malty). Use 1300ml Starter (5.5 oz DME)
Fermentation:
1. Chill to 46* F and keep at 48°F until activity slows (1 week+).
2. Raise temp to 58°F 3 days
3. Crash to 32°F and lager 21 days