
Another blog post, another Sierra Nevada Pale Ale clone. The Verdict: Not Cloned.
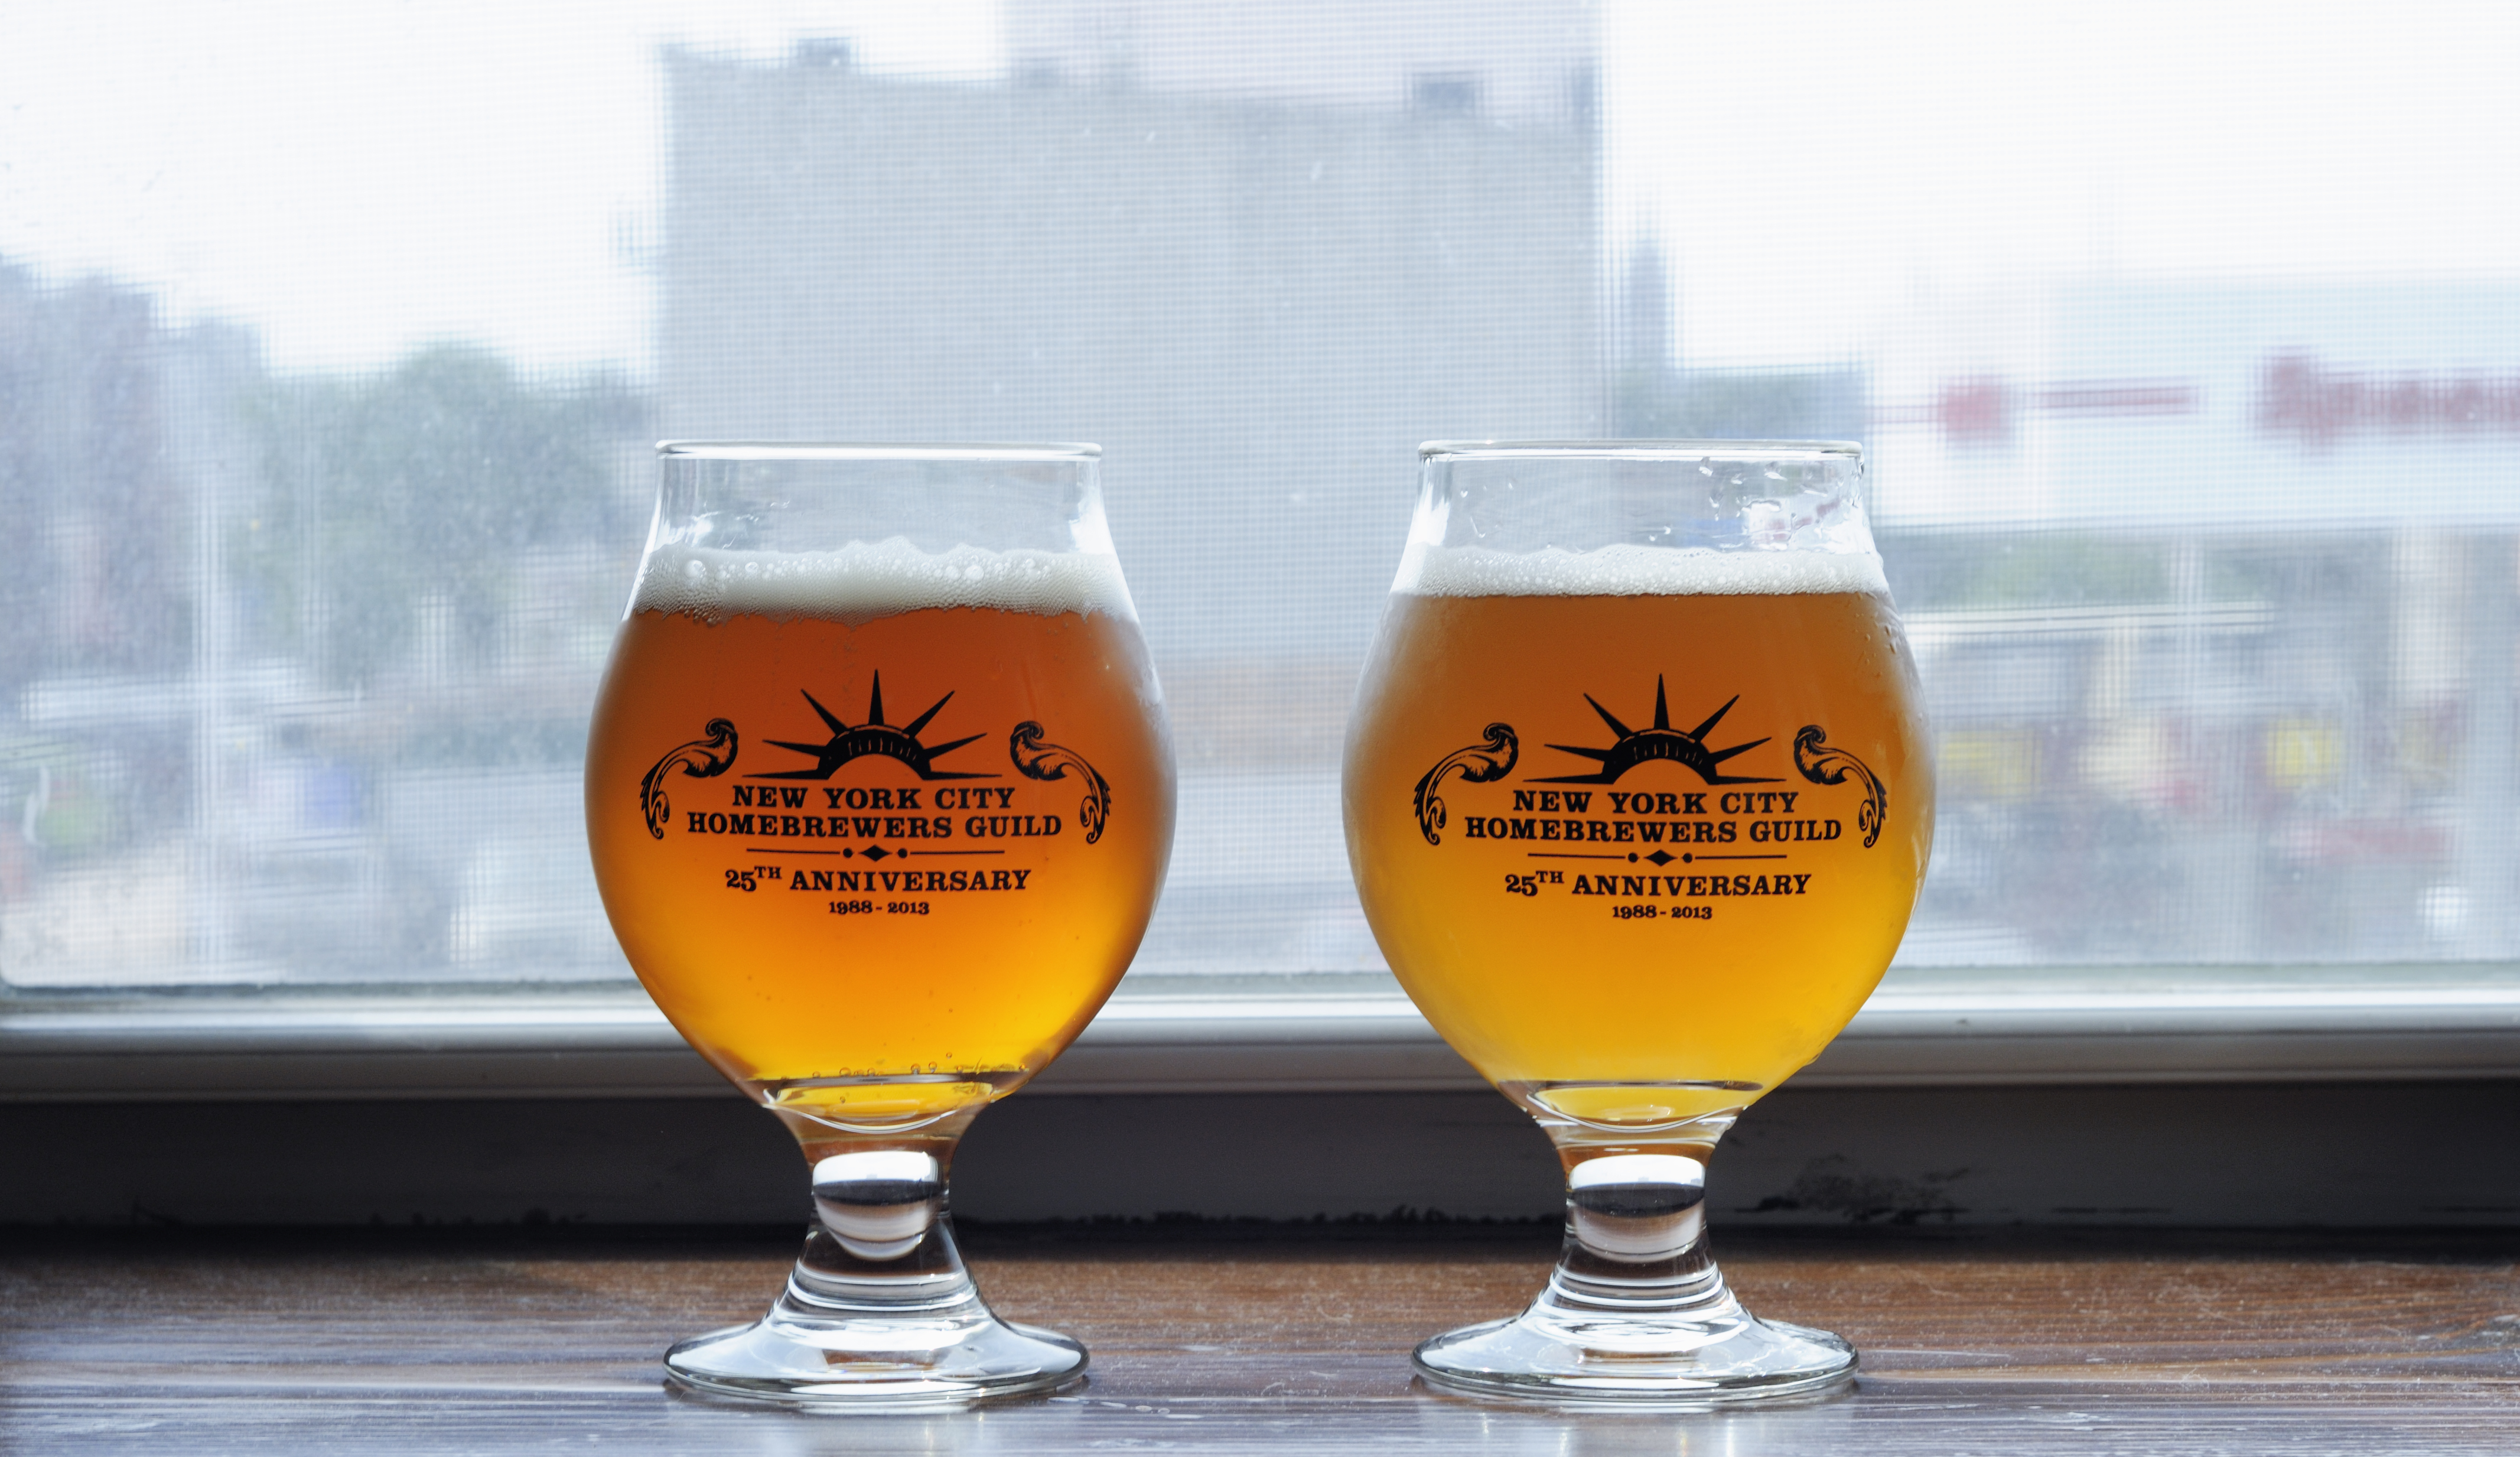
Commercial beer on the left, homebrew on the right.
That said, we’re getting close.To start, here is the recipe that I brewed.
Sierra Nevada Pale Ale Cone 2.0 (Not Cloned)
Specifications:
Size: 3.25 gal
Efficiency: 68%
Attenuation: 80% (measured)
Original Gravity: 1.051
Terminal Gravity: 1.010 (measured)
Color: 10.86 SRM
Alcohol: 5.4% ABV (calculated)
Bitterness: 37.7 IBU (calculated)
Grist:
6.75 lb (94.7%) Briess 2-Row Brewers Malt
6 oz (5.3%) Briess Caramel 60L
Mash Regiment:
152 °F – Sacc Rest – 60min
Water Treatment:
Extremely Soft NYC Water
4g Gypsum (to mash)
2g Calcium Chloride (to mash)
Hopping:
9 g Magnum (12.6% AA) – 60 m
8 g Perle (8.7% AA) – 30 m
8 g Cascade (6.9% AA) – 10 m
72 g Cascade (6.9% AA) – Whirlpool 15m
Kettle Additions:
0.5 ea Whirlfloc Tablets (Irish moss) – 15 m
0.5 tsp Wyeast Nutrient – 10 mYeast:
Yeast:
WYeast 1056 American Ale™ Starter on stirplate to achieve 1 million cells per milliliter of wort per degree Plato. Use Mr. Malty to determine proper starter sized based on age of yeast package. Pitch into 60°F wort and allow to free rise to 64°F. As fermentation begins to slow, raise temperature to 70°F.
The Results
While there are some recipe changes in store for the next iteration, this beer primarily misses the mark on technical merits. Most noticeably my beer has a touch of honeyed oxidized malt character with perhaps a faint hint of diacetyl that is not present in the commercial beer.
I am typically very careful to limit O2 exposure, especially in fermented beer. In some ways, the oxidation of this beer is welcome as it is making me look critically at my process and think of ways I can limit O2 pickup. The biggest risk for oxidation in my process comes at two locations: the cold crash and packaging.
When I cold crash my beer, there is usually some suck-back of air into the fermenter due to a vacuum being pulled as the liquid’s volume decreases as it cools. I typically put a little CO2 head pressure on my beers as I cold crash in order to prevent this. With this beer, I got lazy and skipped this step. Nevermore!
The second biggest opportunity for O2 pickup is when I rack finished beer to my keg. I always purge the keg, but perhaps I am not always as careful as I should be in gently racking the beer and purging the racking cane or fermenter head space once it is opened up. In a perfect world, I would be doing a completely closed transfer — this is something I’m looking into and hope to implement in the future.
In terms of recipe, I believe the malt bill I am using is nearly perfect. There is a slight color difference between my beer and the commercial example, but I believe this has more to do with some yeast being suspended in the homebrew, and not a dramatic miss with the malt bill. I may bump up the crystal malt ever so slightly in the next round — perhaps only by a couple ounces.
The biggest recipe difference that I need to implement for the next round is in regard to flavor and aroma hops. The commercial beer has a substantial grapefruit pith and slightly spicy / herbal hop character. While this character is present in the homebrew, it is not nearly as intense. The homebrew’s bitterness level is spot on, but the aroma and flavor needs to be dramatically increased. For the next iteration of my recipe, I intend to boost the amount of late hopping at least by an order of 2 or 3 in order to get closer to the commercial beer.

